
Last updated September 20, 2026
Full 25-point door and opener safety check with every visit - springs, cables, rollers, tracks, and your LiftMaster or Chamberlain opener included
You get a price before we start. It does not change when the truck arrives.
 Before
 After
After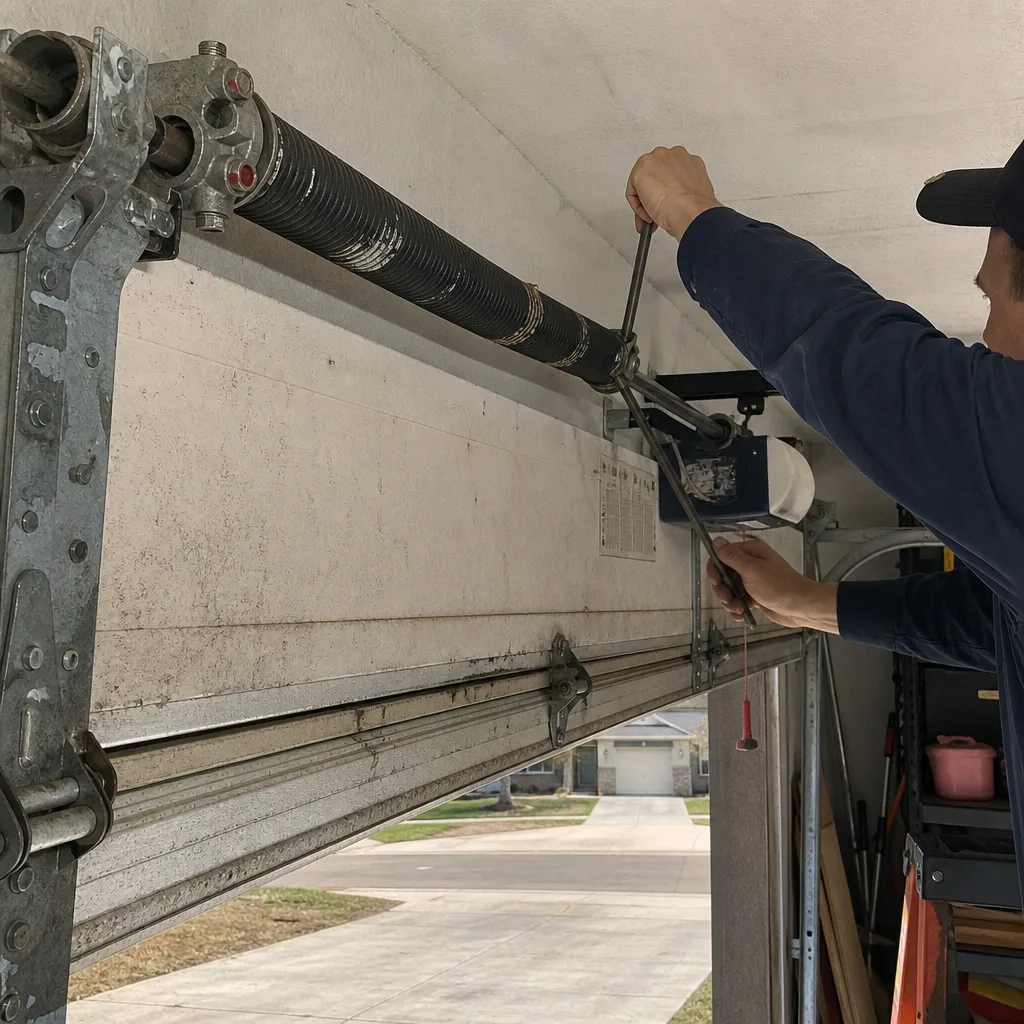 Before
 After
After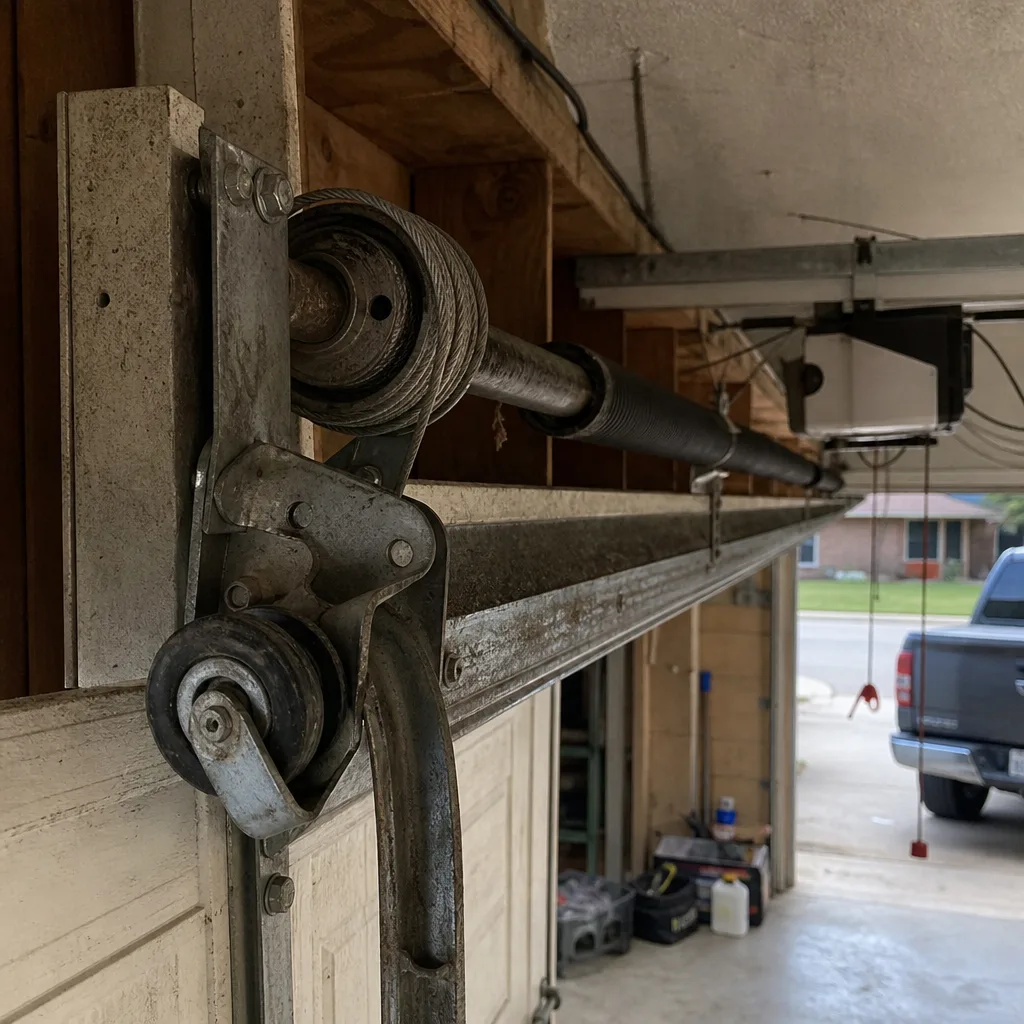 Before
 After
AfterDIY vs Professional Garage Door: The Weatherford Homeowner’s Decision Guide
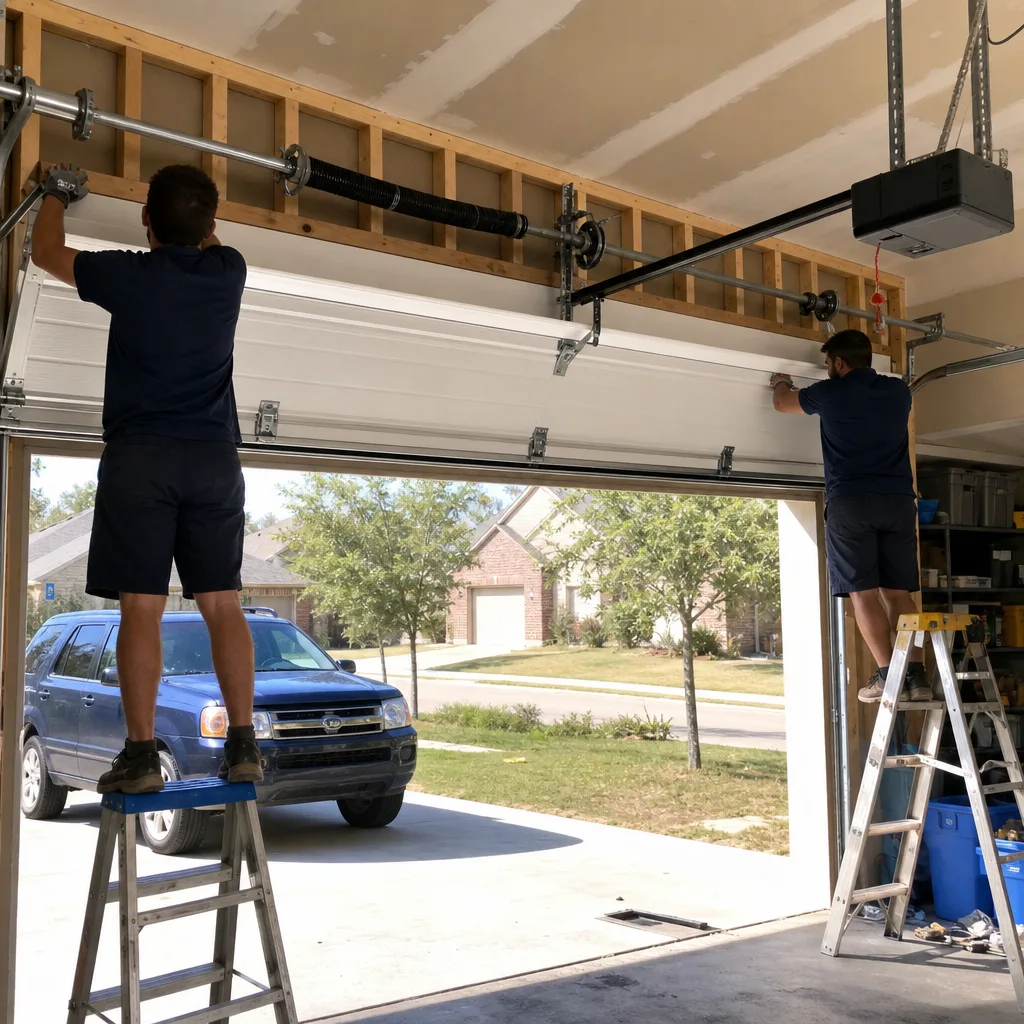
Roughly 20,000 Americans land in the emergency room every year from garage door injuries, and the majority of those involve torsion springs, the tightly wound coils above your door that counterbalance its weight. The decision to fix a garage door yourself or call a professional in Weatherford isn’t about whether you’re handy. It’s about whether the specific component you’re touching can injure you if something goes wrong. That’s the line this guide draws, component by component, so you know exactly which tasks are reasonable to attempt and which ones carry liability no amount of YouTube research can offset. For more guides & resources, visit our blog.
Quick Answer
Most Weatherford homeowners can safely handle garage door maintenance tasks like lubrication, weatherstripping, and sensor alignment with basic tools and about an hour of time. Torsion spring replacement, cable repair, and any work involving the door’s counterbalance system should be left to a professional, not because the work is complicated, but because the stored energy in those components can cause serious injury or death if released unexpectedly.
Table of Contents
- The Physics of Danger: Why Torsion Springs Are Different
- The Safe DIY Task List: What a Weatherford Homeowner Can Handle
- The Never DIY Task List: Where Physics Makes the Decision for You
- Cost-Benefit Math for Borderline Tasks, Like Panel Replacement
- What to Do Before a Technician Arrives, and What ‘Helping’ Actually Costs
- Weatherford-Specific Concerns: Heat, Humidity, and Storms
- How to Document Owner-Performed Work Without Voiding a Warranty
- Common Mistakes to Avoid
- When to Call a Professional
- Frequently Asked Questions
- The Bottom Line
BeforeAfterThe Physics of Danger: Why Torsion Springs Are Different
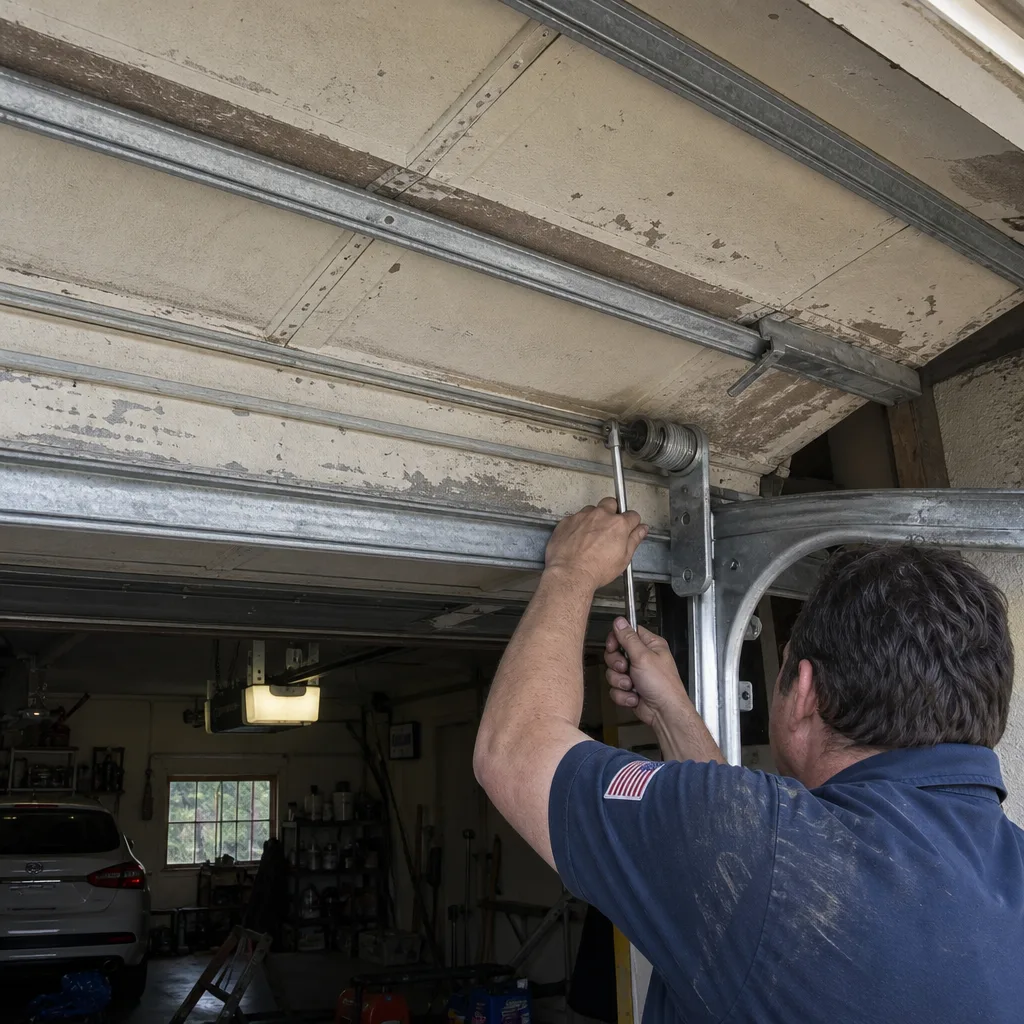
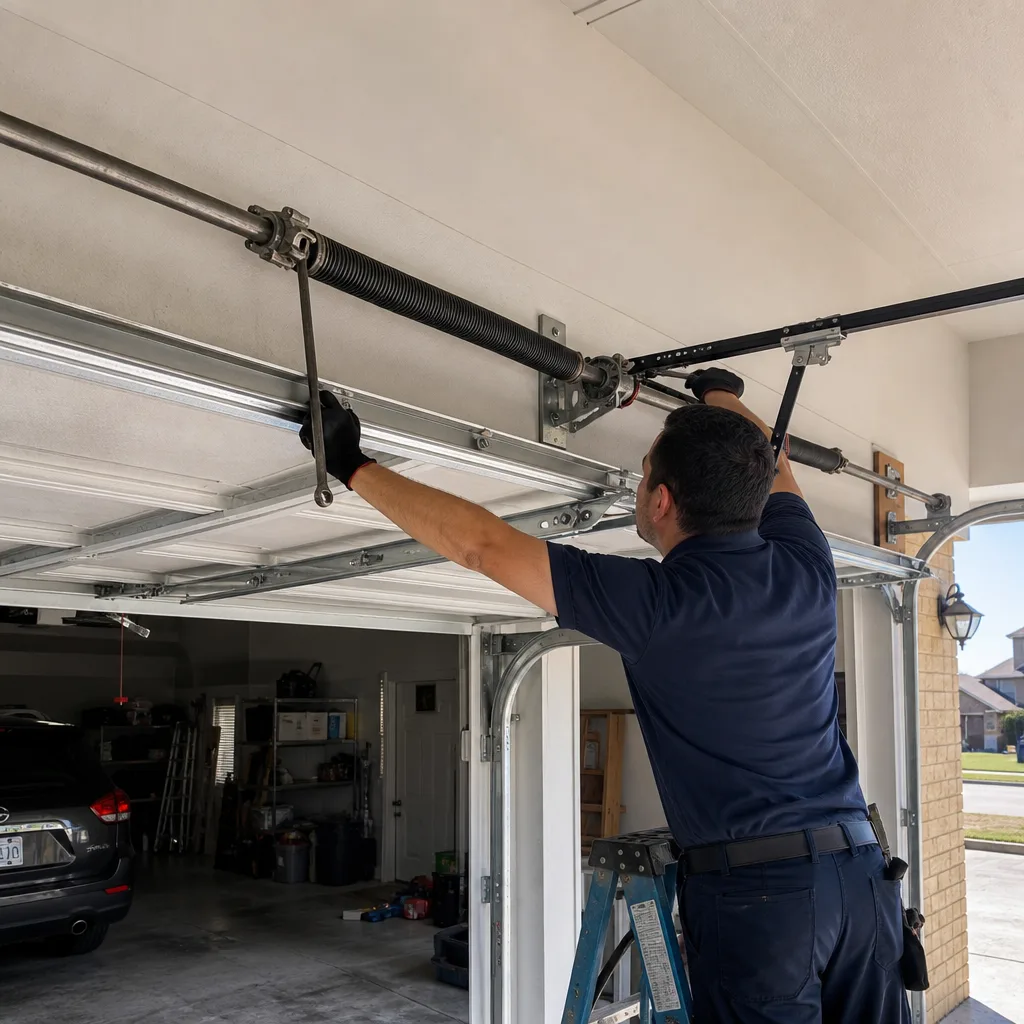
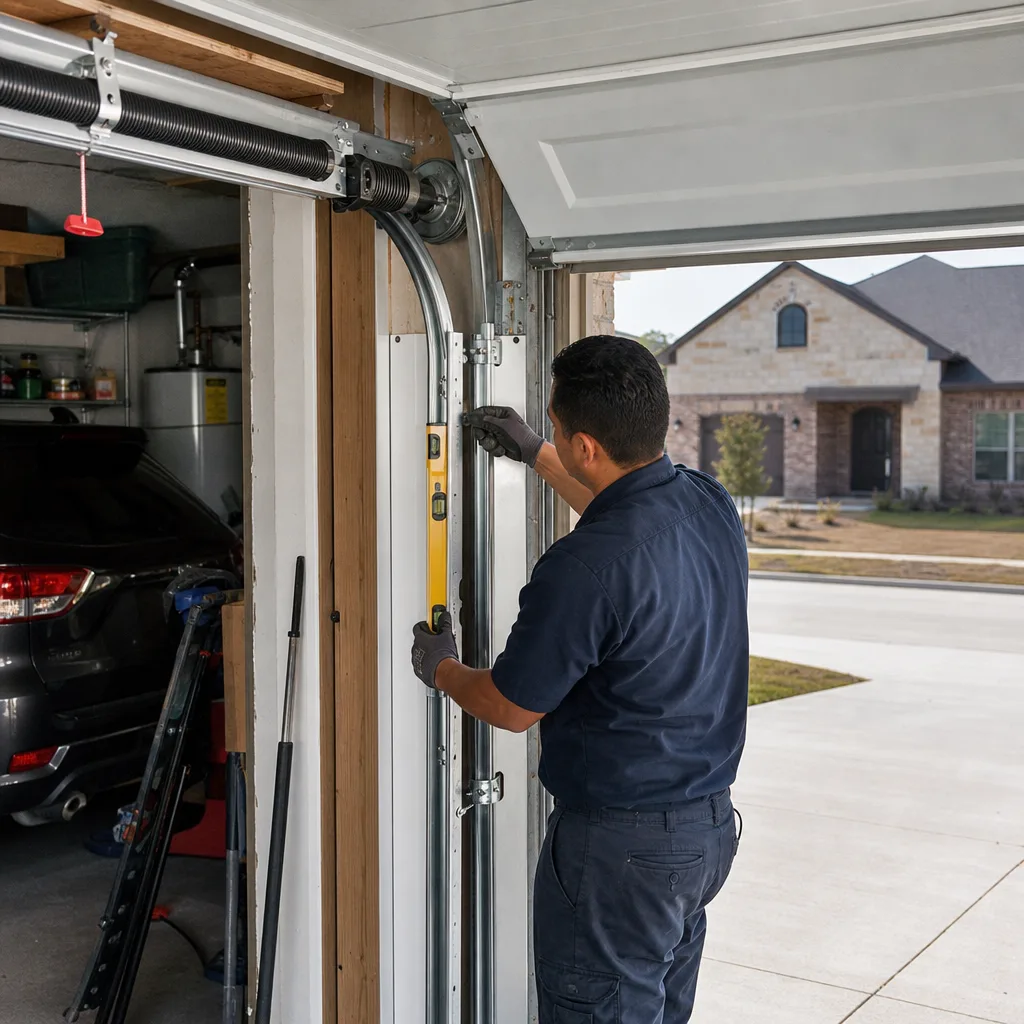
A torsion spring on a standard residential garage door in Weatherford holds between 130 and 180 foot-pounds of torque when the door is closed. That means if the winding bar slips while you’re adjusting it, the spring unwinds with enough force to break bones in your hand, wrist, or forearm before you can react. There’s no warning. No creaking sound. No gradual failure. One moment the bar is in place, the next it’s spinning at high speed and the only question is whether your hand is still attached to your arm.
We explain this not to scare homeowners, but because the physics of a torsion spring are the entire decision. A spring under 150 ft-lbs of torque does not care how careful you are. It does not care that you watched three tutorials. The margin for error on a winding bar is about half an inch. If the bar isn’t fully seated in the winding cone when you apply pressure, it becomes a projectile.
Cable systems add a second layer of risk that most DIY guides gloss over. The lift cables on a garage door run along tracks under tension, and when a spring breaks, that tension transfers to the cables unevenly. A frayed cable or a cable that’s jumped the drum can snap under load, and the whipping motion of a steel cable under that much force will cut through skin and muscle. In our experience servicing homes across Weatherford, we’ve seen garage door cables that homeowners tried to re-seat by hand, only to have the cable drum release the remaining tension down the track and into the wall.
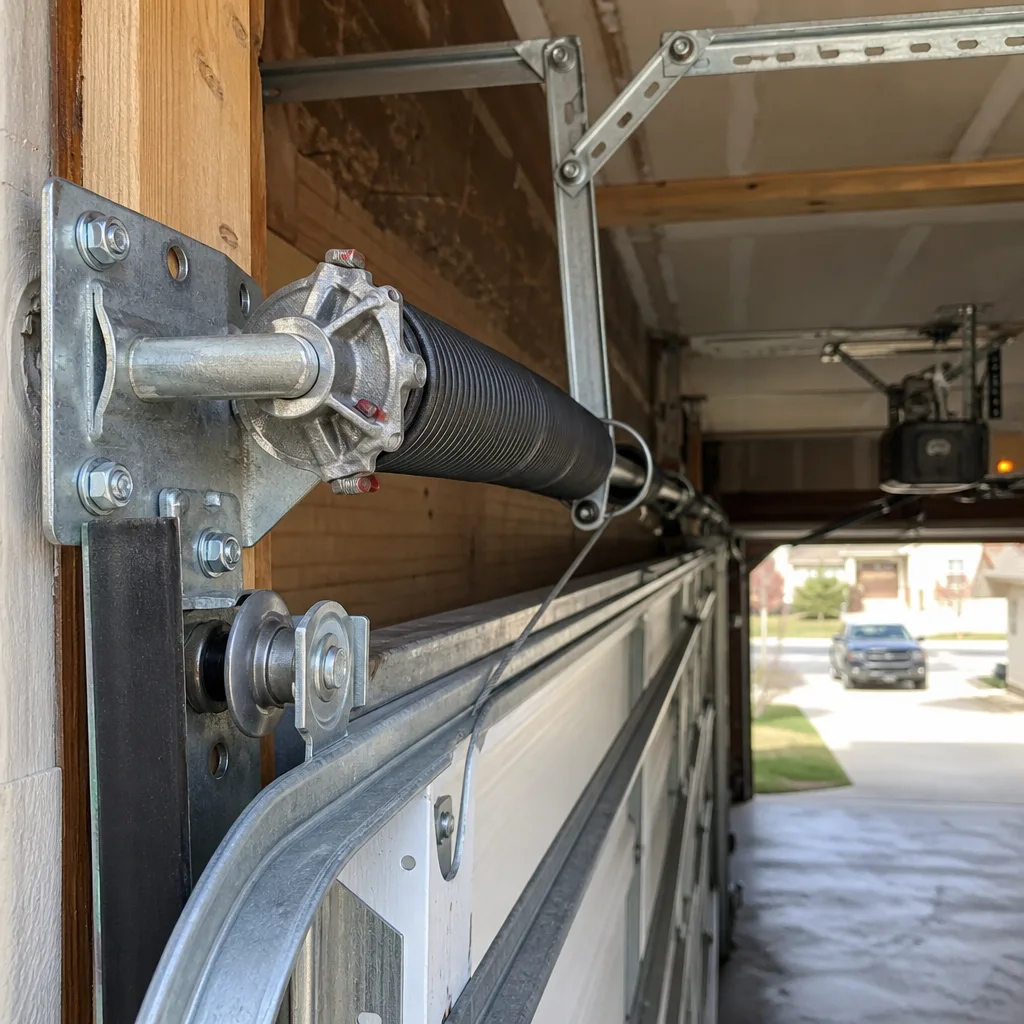
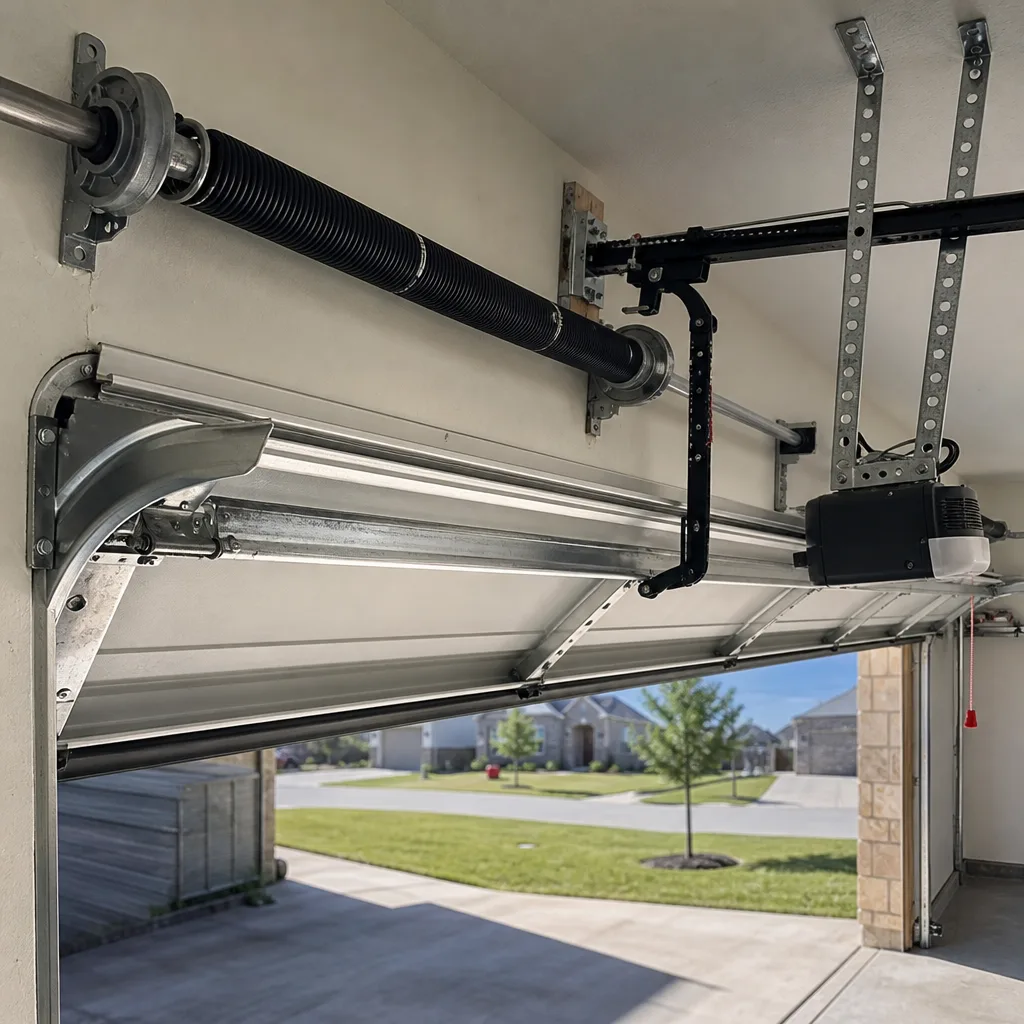
The mechanical rule is simple: if the component you’re considering touching is part of the counterbalance system, the springs, the cables, the bottom brackets, or the winding cones, you’re not making a repair decision. You’re making a risk decision, and the risk is not reasonable for a homeowner without a torsion spring winding bar set, proper training, and a second set of hands.
Local context matters here too. Weatherford’s heat and humidity cycles cause metal fatigue faster than the national average. Garage door springs in Parker County cycle through 100-degree daytime temperatures and cooler, more humid nights, and that thermal expansion and contraction accelerates wear. A spring that looks fine in February can shear cleanly in August. When we replace torsion springs for Weatherford homeowners, we photograph the failed component before quoting the replacement, per Clause 4 of The Haven Standard, so you see exactly where the metal failed and why it was no longer safe.
The Safe DIY Task List: What a Weatherford Homeowner Can Handle
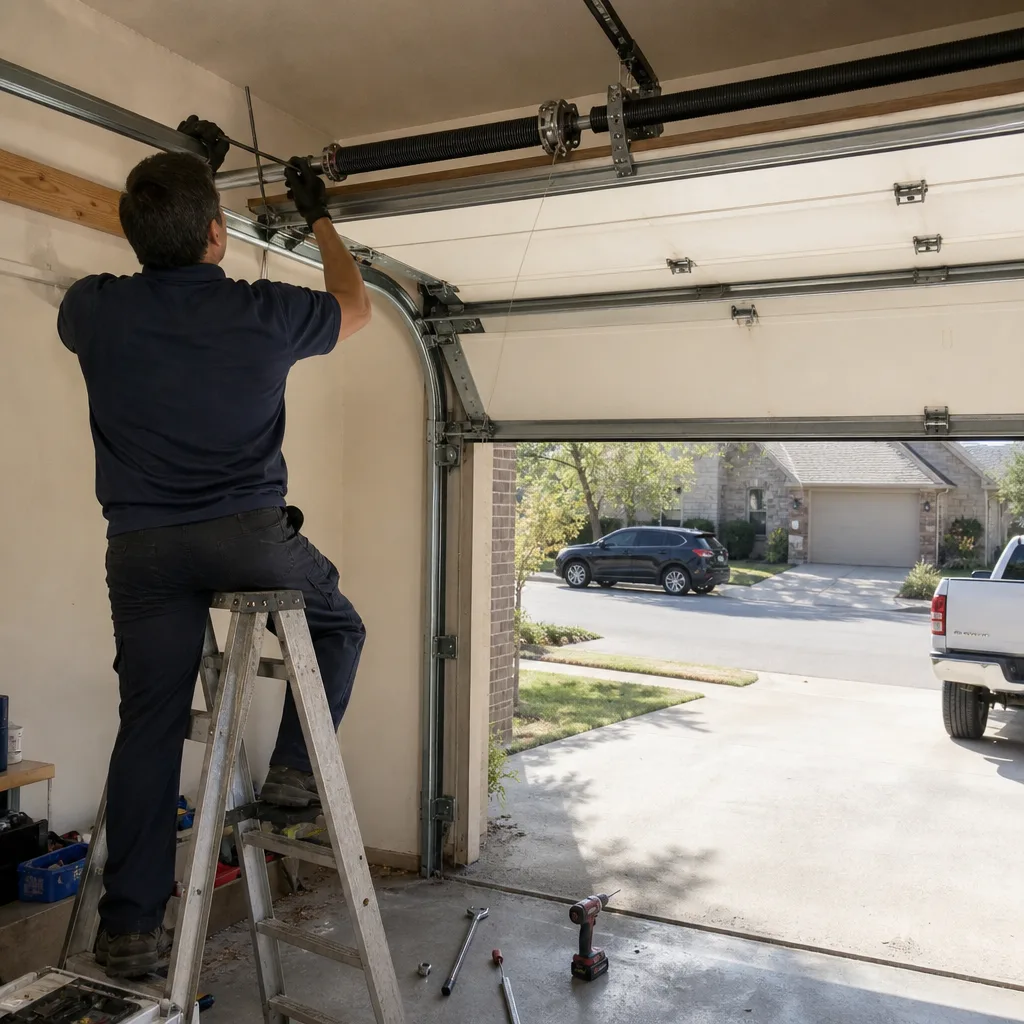
Not everything on a garage door is dangerous. Some tasks are genuinely straightforward, and doing them yourself saves money without adding risk. Here’s the honest list of components that a homeowner with basic tools, a step stool, and an hour can safely address. For a deeper look at upkeep, see our Garage Door Repair Maintenance Checklist for Weatherford Homeowners.
1. Lubrication
The hinges, rollers (if metal), and the torsion spring itself need lubrication about twice a year in Weatherford, more often if your door faces direct afternoon sun. Use a garage-door-specific lubricant, not WD-40. WD-40 is a solvent and will strip the existing lubricant, leaving metal-on-metal contact that accelerates wear. Spray the hinge pivot points, the roller stems, and a light coat across the spring coils. This takes about 15 minutes and costs under $10.
2. Weatherstripping and Bottom Seal Replacement
The rubber seal along the bottom of your garage door in Weatherford takes a beating from the heat, and replacing it is a slide-out, slide-in job. The old seal pulls out of the channel, the new one slides in. No tension. No springs. No risk. Just make sure you buy the right width for your door, and do the work in the morning before the metal channel gets too hot to handle.
3. Photo Eye Sensor Alignment
The two small sensors near the floor on either side of your garage door talk to each other with an invisible beam. If the door refuses to close or reverses immediately, the sensors are usually misaligned. Loosen the wing nut holding the sensor bracket, adjust the angle until the indicator light turns solid, and re-tighten. This is a five-minute fix that requires a screwdriver and patience, but no mechanical risk.
4. Panel Cleaning and Visual Inspection
Steel and aluminum garage door panels in Weatherford collect dust, pollen, and in the spring, an impressive amount of oak pollen from the surrounding Hill Country landscape. A mild detergent, a soft-bristled brush, and a garden hose keep them looking right. While you’re out there, look for rust spots, cracked panels, or loose hinges. Visual inspection is the single most valuable DIY task you can perform, because it catches problems before they become emergency calls.
5. Remote Battery Replacement and Opener Button Reprogramming
If your LiftMaster or Chamberlain remote stops working, the first step is a fresh battery, and the second step is re-syncing the remote to the opener, which is a button-press sequence described in your opener’s manual. No ladder required. No risk involved. If a new battery and re-syncing don’t fix it, the issue is likely the opener’s logic board, which belongs to the professional side of this guide.
Each of these tasks is listed on the Garage Door Repair in Weatherford page as a maintenance item we can handle if you’d rather not, but none of them require a service call. The dividing line for DIY work is simple: if you can see the component without removing the door and the component doesn’t store energy, you can probably handle it.
The Never DIY Task List: Where Physics Makes the Decision for You
Here are the components that should not be touched by a homeowner, regardless of skill level. These aren’t recommendations based on protecting our business. They’re based on the mechanical forces involved and the injury patterns we see in the emergency rooms that serve Weatherford and Parker County.
1. Torsion Spring Replacement
We covered the physics above. The mechanical reality is that replacing a torsion spring requires unwinding the old spring if it hasn’t broken, or winding the new one if it has, and both operations require you to be on a ladder with both hands applying torque through winding bars at head height. If anything slips, the injury is immediate and severe.
2. Extension Spring Replacement
Older Weatherford homes sometimes have extension springs, which run along the horizontal tracks instead of across the header. Extension springs stretch and contract, and they do not fail gracefully. Safety cables running through the spring are what keep a broken extension spring from becoming a flying chunk of metal, and if your door doesn’t have them, adding them is the first step. Replacing extension springs yourself involves dealing with tension along the full length of the spring, and getting the length wrong in either direction creates a door that slams or won’t lift.
3. Lift Cable Repair or Replacement
Cables under tension are not the same as a snapped shoelace. A garage door lift cable carries the full weight of the door when the spring system has lost tension, and the moment the cable slips off the drum, the door is unbalanced. Homeowners who attempt to re-seat a cable without first de-tensioning the spring system are working against several hundred pounds of force. The cable can whip, the door can drop, and neither is a scenario you want to experience in your own garage.
4. Header Bracket and Lag Bolt Work
The header bracket is the steel plate bolted to the wall above your garage door that holds the center of the torsion spring system. The lag bolts that secure it are under constant tension from the spring torque. If you notice sagging, cracking, or loosening around the header bracket in your Weatherford home, do not tighten the bolts yourself. The bracket is under load, and the correct repair involves relieving spring tension before touching any fastener. Tightening a lag bolt against active torque can strip the wood, crack the header, or snap the bolt.
5. Opener Logic Board or Motor Work
Garage door openers are low-voltage systems, so the electrical risk is minimal, but the diagnostic challenge is real. A Genie or Chamberlain opener that runs but won’t open the door, or opens but won’t stay open, could be a logic board failure, a limit switch problem, a dead capacitor, or a sensor feedback issue. Replacing parts without diagnosing the root cause is how a $15 limit switch replacement becomes a $250 logic board purchase that doesn’t solve the problem. This is diagnostic work, and it belongs on the professional side of the ledger. We cover this territory on the Garage Door Opener Repair & Installation in Weatherford page.
Cost-Benefit Math for Borderline Tasks, Like Panel Replacement
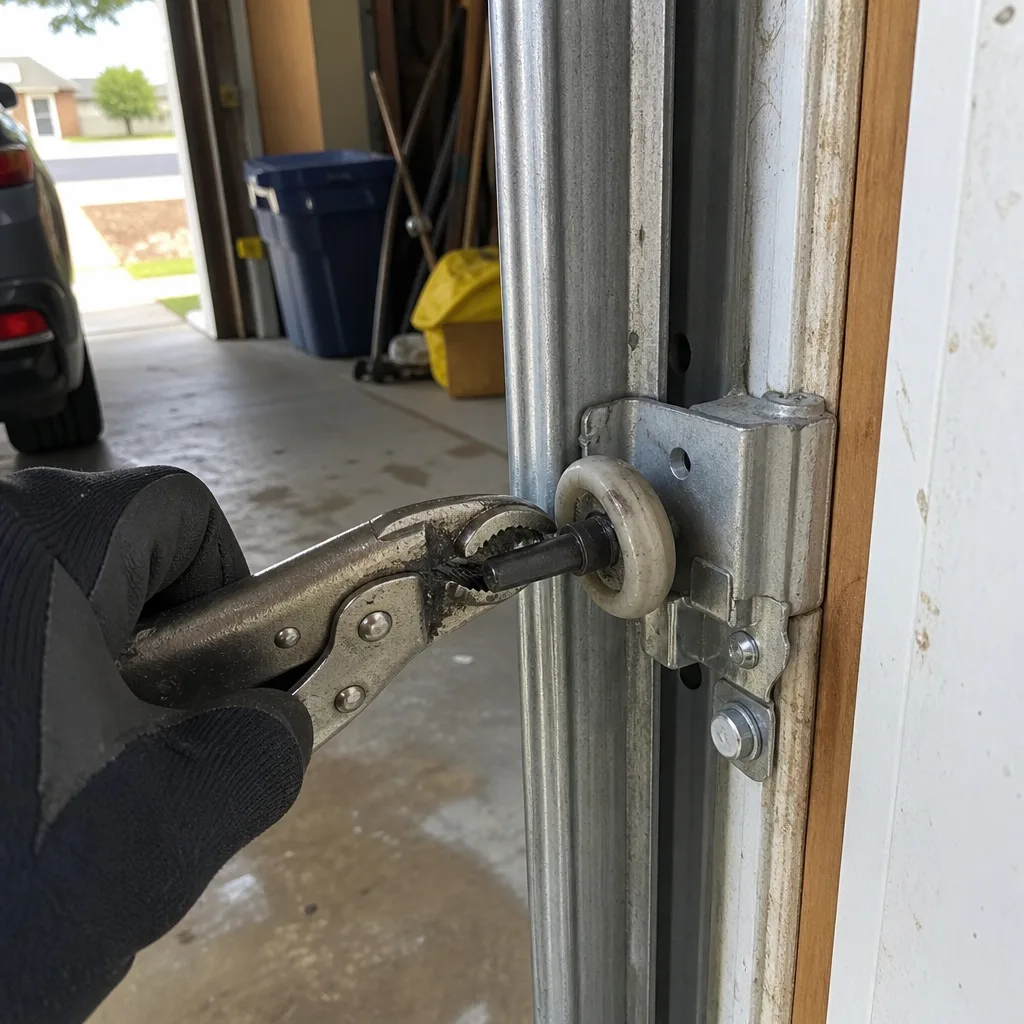
Some repairs fall into a gray zone: not immediately dangerous, but not obviously worth doing yourself either. Panel replacement is the best example. A single dented or cracked panel on a Clopay or Amarr steel door in Weatherford is usually a $300 to $600 repair when we handle it, including the panel, the labor, and the haul-away of the old panel. For a full breakdown of pricing, see our Garage Door Cost Breakdown: The Weatherford Homeowner’s Reference for 2026.
Here’s what the DIY route actually costs a Weatherford homeowner:
- Replacement panel: $150-$300 depending on the door brand and panel size
- Tool rental or purchase: $40-$80 for a panel lift or a second set of hands you can’t rent
- Time investment: 3-5 hours for a first-timer, and that assumes nothing goes wrong
- Risk of error: If the panel isn’t seated perfectly in the track, the door binds, the opener strains, and you’re paying for a service call anyway
The math changes at the hour mark. If you value your time at $30 an hour and it takes you four hours to do a panel replacement, you’re at $120 in labor plus $300 in parts and tools, and you’ve done the work on a weekend instead of doing anything else you’d rather do. Meanwhile, a professional panel replacement in Weatherford runs $300 to $600, takes a technician about 90 minutes, and carries a written warranty.
This is where the “DIY saves money” argument breaks down. DIY saves money on tasks that require no specialized tools, no risk of error, and less than an hour of your time. For borderline tasks like panel replacement, track adjustment, or opener diagnosis, the total cost of ownership on a DIY attempt often exceeds the professional quote once you account for tools, time, and the cost of fixing your own mistakes.
We’d also point out that our pricing model removes the uncertainty that traditionally pushes homeowners toward DIY. Per Clause 1 of The Haven Standard, every job we do in Weatherford starts with a flat, written price and a written scope delivered before any work begins. The price doesn’t change once we see the door. There’s no “well, once we opened it up, we found…” conversation. If a contractor is quoting you ranges over the phone and reserving the right to revise on-site, that’s a pricing model that manufactures uncertainty, and it’s exactly the model we’ve refused since 2015.
What to Do Before a Technician Arrives, and What ‘Helping’ Actually Costs
There’s a sweet spot between doing nothing and doing the repair yourself. Here’s what a Weatherford homeowner can legitimately do before a technician arrives to reduce billable time, and what actually creates problems.
Do This Before We Arrive:
- Clear the garage floor. Move vehicles, boxes, and bikes at least six feet back from the door. We need ladder space and a clear work area, and clearing it yourself saves 15 minutes of billable time.
- Photograph the problem. Take clear photos of the door, the tracks, the springs, and whatever looks wrong. A photo record lets us come prepared with likely parts, reducing the chance of a second visit.
- Note the symptoms, not the diagnosis. Write down what you observed: “The door started making a grinding sound last Tuesday and now it won’t stay up past two feet.” That’s useful. “I think the spring alignment is off” is less useful, because it frames the problem as a conclusion instead of evidence.
- Find your opener’s model number. The opener’s model number is on a sticker on the motor housing. Photograph it. If the repair involves the opener, knowing whether it’s a LiftMaster 8500W or a Chamberlain B550 changes which parts we bring.
- Have your warranty paperwork ready. If your door or opener is under warranty, we need the documentation to process any covered work. Warranty paperwork also tells us who installed the door originally and whether there’s a service history.
Stop Doing This:
- Pre-disassembling the door. Homeowners sometimes remove panels, unbolt hinges, or loosen springs “to save time.” What you’re actually doing is removing the evidence of what the door was doing when it failed, and re-assembly can be more involved than the original repair.
- Attempting a partial repair that doesn’t hold. A door held up by a C-clamp instead of a properly wound spring is a door waiting to drop. The clamp gives a false sense of security and creates a much more dangerous situation.
- “Helping” during the repair. We appreciate the instinct, but the liability exposure for you and the diagnostic confusion for us aren’t worth the saved minutes. The best help is clearing the space, providing the documentation, and letting the technician work.
- Re-wiring or re-programming the opener incorrectly. It’s cleaner and cheaper for us to work from a door that hasn’t been touched than from one where we have to undo someone else’s work first. Every wrong wire we have to trace costs you billable time.
The goal is to arrive at a service call with a clean work area, a clear symptom description, and the door in roughly the same condition it was in when it failed. That’s the shortest distance to a diagnosis and a written quote.
Weatherford-Specific Concerns: Heat, Humidity, and Storms
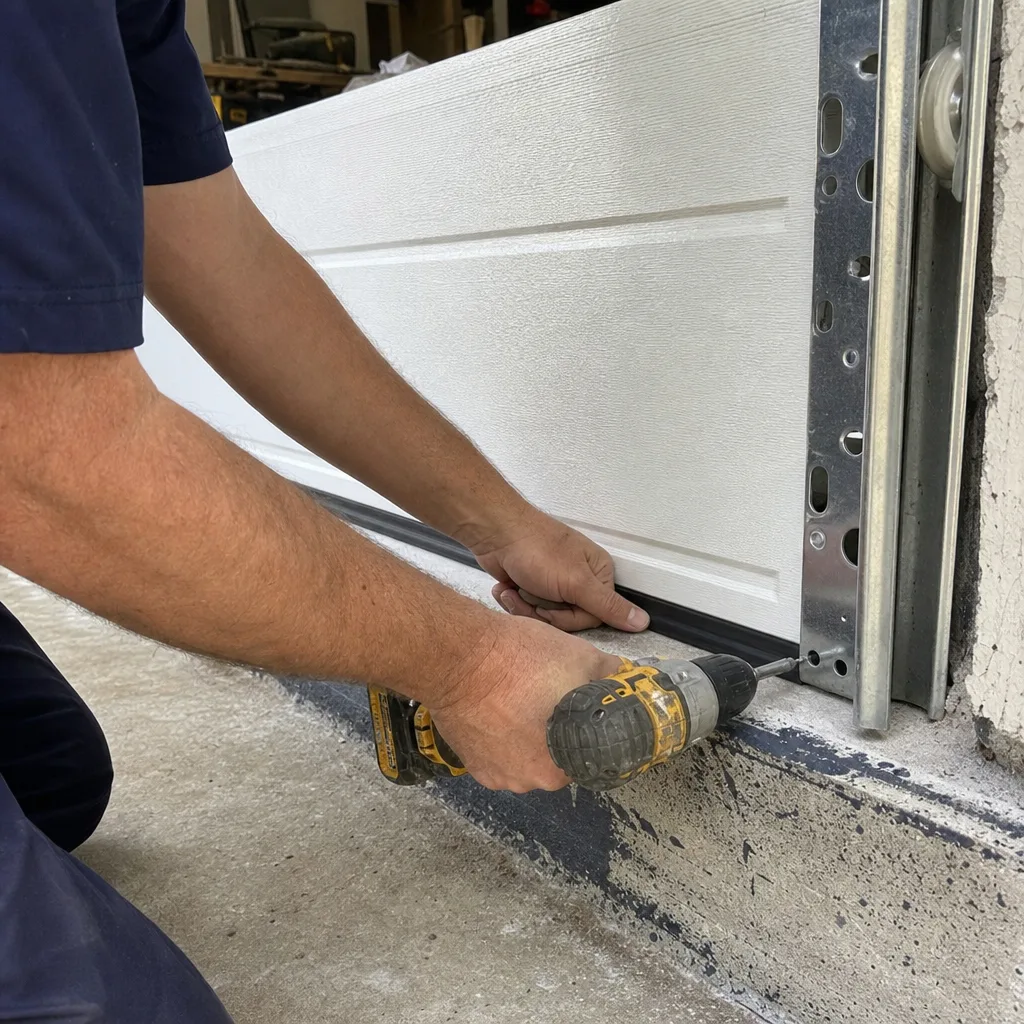
Weatherford’s climate is hard on garage doors in a few specific ways that don’t apply to a homeowner in, say, Minnesota or coastal California. Knowing these factors helps you understand why a door that’s only five years old might already show wear that would take a decade elsewhere.
The Heat Cycle Effect on Springs
Garage door torsion springs are rated for a cycle life, typically 10,000 cycles for standard springs and up to 25,000 for high-cycle versions. But that rating assumes a moderate, consistent operating temperature. Weatherford’s 100-degree summer days followed by 70-degree nights create a thermal expansion cycle that stresses the metal at a microscopic level. The spring is expanding and contracting daily, and that repeated stress concentrates at the coil ends where the wire is cut. The result is that springs in Weatherford often fail closer to 7,000 cycles than 10,000. If your door was installed in 2018 and you’re opening and closing it four times a day, you’re somewhere around 15,000 cycles by 2025, and a spring failure is statistically due.
Humidity and Metal Corrosion
Garage interiors in Weatherford collect humidity, especially in the spring and early summer when the air is thick with moisture from the Brazos River valley. That humidity condenses on metal components, and over years, the hinges and fasteners develop surface rust that spreads into the threads. A rusted bolt that takes five seconds to remove on a new door can take five minutes of penetrating oil and careful work on a ten-year-old Weatherford door. The lesson here is simple: if you see rust forming on your garage door hardware, address it early. A quick scrub and a re-coat of lubricant takes minutes. Waiting until the hardware seizes is how you turn a $20 hinge replacement into a $300 track repair.
Spring Storms and the Wind Load Question
Weatherford sits near the southern edge of Tornado Alley, and spring storms with high straight-line winds are a regular feature of life in Parker County. A garage door is the largest moving structural element on your home, and when it’s closed, it’s a big, flat surface catching wind load. A door with weakened springs or misaligned tracks is more vulnerable to storm damage, and the force of a strong gust hitting an unbalanced door can bend panels or pull the tracks away from the wall. If your door squeaks, groans, or catches when opening in the days before a storm front moves through, that’s a structural warning, not a cosmetic one.
We serve all of Weatherford, from the neighborhoods off Bethel Road to the developments around Ric Williamson Memorial Highway, and we see the same pattern each storm season: doors that were already marginal fail catastrophically during the first good wind event of the spring. The fix is cheaper in January than it is in April, after the door has already failed and you’re paying for an emergency call.
How to Document Owner-Performed Work Without Voiding a Warranty
If you do handle the safe DIY tasks we listed above, documentation matters. Here’s the straightforward approach we recommend to Weatherford homeowners, and it’s the same information a professional technician would want to see if a warranty claim comes up or if the door later fails and needs professional attention.
Step 1: Keep a Simple Log
A dated list of what you did, what products you used, and what you observed. That’s it. “November 12, 2025: Replaced bottom seal with Clopay universal 20-foot seal. Noted minor rust on right-side bottom bracket. Lubricated all hinges with garage-door lithium grease.” That line takes 30 seconds to write down and gives a future technician a starting point.
Step 2: Photograph Before and After
Take a photo of the component before you touch it, and another after you’ve finished. These photos establish what you found and what you did. If a warranty claim ever comes up, the manufacturer wants evidence that the door was properly maintained, and a photo record is the strongest possible response to a claim denial based on “lack of maintenance.”
Step 3: Keep Receipts for Parts and Products
The receipt proves you used the right product for the job. If you replaced a bottom seal with a seal rated for the correct door width and type, the receipt establishes that. If you used the wrong thing, the receipt establishes that too, which is information a future technician needs to know.
Step 4: Don’t Document Owner Modifications That Affect the Warranty
This is the uncomfortable part. Some modifications void a door or opener warranty outright. Drilling new holes in the door to mount a garage door opener. Cutting the rails to fit a non-standard opening. Replacing a spring with one of a different wire size to “make the door heavier.” If you’ve done anything like that, the warranty may be compromised, and the best thing you can do is be honest about it when you call for service. We’d rather diagnose around a known variable than spend billable time discovering it.
This documentation habit is the homeowner version of what we do on every service call. Per Clause 4 of The Haven Standard, our technicians photograph the failed component before quoting a replacement, and the homeowner receives a documented photo record of what was found and what was done. The principle is the same whether you’re working on the door yourself or we’re working on it for you: if you can show what happened, the conversation is cleaner.
Common Mistakes to Avoid
- Using the wrong lubricant on a metal-on-metal hinge joint. WD-40 strips existing lubricant and leaves the metal dry. Use a garage-door-specific lithium grease or silicone spray. The wrong product turns a 15-minute maintenance task into a premature hardware replacement.
- Attempting to “balance” a garage door by adjusting spring tension without a winding bar set. The door feels heavy on one side, so you tighten what you think is the problem bolt, and now you’ve got an under-tensioned spring on one side and an over-tensioned spring on the other. The door now opens crooked and binds in the track, and the repair cost just went up.
- Ignoring a door that’s getting louder. A garage door that’s progressively noisier in Weatherford is usually a sign of dry hinge points, wearing rollers, or a spring that’s losing tension. All three are cheaper to address before the failure than after.
- Disconnecting the opener and running the door manually without securing it open. If the spring system has failed and you release the opener, the door can drop with its full weight behind it. Never release a garage door from the opener unless you’re certain the springs are intact.
- Replacing components with mismatched parts. A torsion spring with the wrong wire diameter won’t balance the door correctly, even if it fits in the bracket. The spring is sized to the weight and height of the door, and “close enough” in spring sizing means a door that either won’t open or slams shut.
- Assuming a garage door in a newer Weatherford home doesn’t need maintenance. A door installed in 2020 has been through five years of Parker County heat cycling. That’s five years of thermal expansion on the spring coils and five years of humidity on the hardware. Newer isn’t maintenance-free.
- Calling a professional only after the DIY attempt fails. The failed DIY attempt rarely saves money. It usually adds cost, because the professional now has to undo the failed repair before starting the correct one. There’s no shame in calling first.
When to Call a Professional
Call a professional when the component you need to touch is a torsion spring, an extension spring, a lift cable, a header bracket, or an opener logic board. Call a professional when the door is visibly sagging, when it makes a sharp cracking sound on operation, when it won’t stay in the open position, or when you’ve already tried the safe DIY fixes and the problem persists. Call a professional when you’d rather have a documented record of what was found and what was fixed than a story you tell the next owner. Before any project, check our Garage Door Permits, Codes & Inspections in TX: What You Need to Know to stay compliant. If you’re in Weatherford and you’re not sure which side of the line your problem falls on, Servo Garage Doors Weatherford offers free estimates. Call (940) 353-1271 and describe what you’re seeing. We’ll tell you honestly whether it’s a DIY job or a service call. If it’s the latter, you’ll get a flat, written price before any work begins.
Frequently Asked Questions
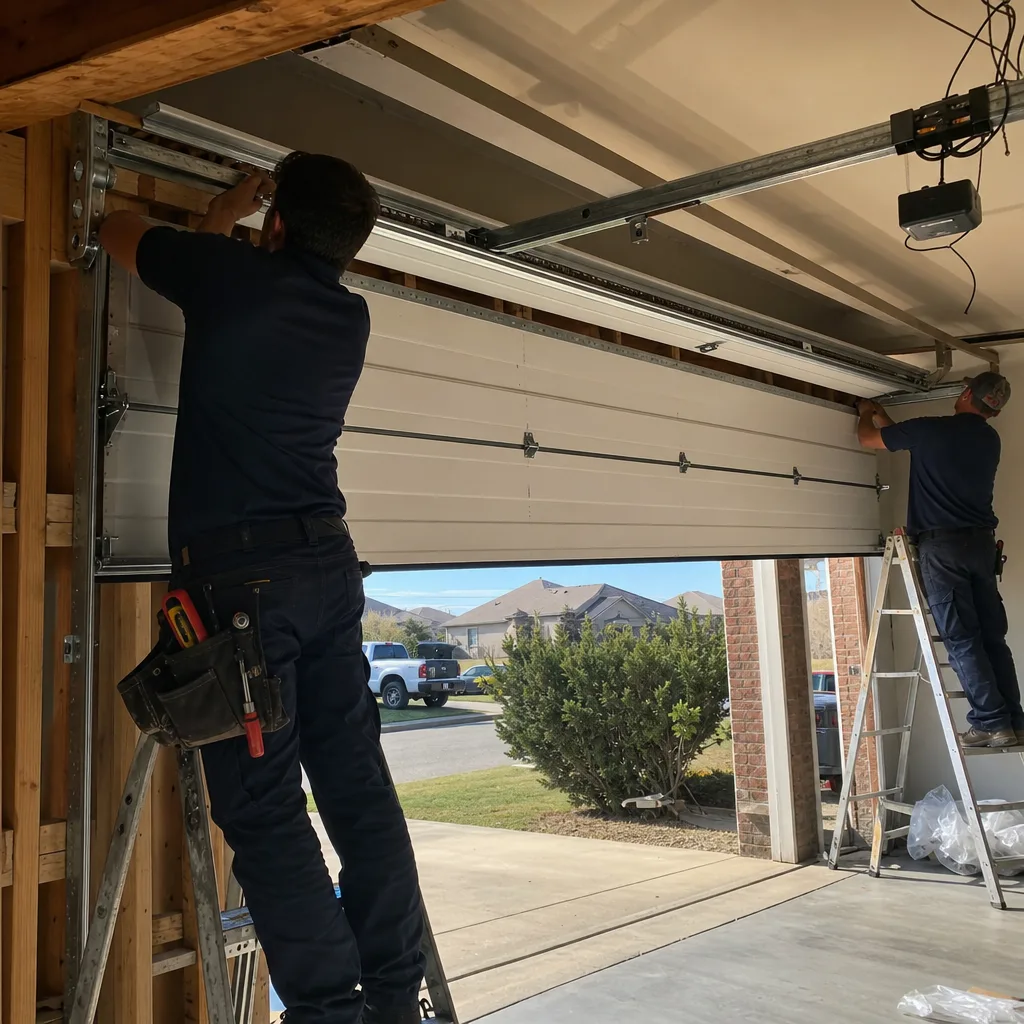
Garage door spring replacement in Weatherford typically costs $250 to $450 for a pair of torsion springs, including parts and labor, with high-cycle springs at the upper end of that range. The price varies based on the spring’s wire diameter and cycle rating, and you should always get the exact price in writing before the work starts. Call (940) 353-1271 for a free estimate with a flat, written price.
No, garage door spring replacement is not safe for a homeowner without professional training, winding bars, and a second set of hands, and even with all three, the force involved makes injury likely if anything slips. A torsion spring holds 130 to 180 foot-pounds of torque, and that energy releases instantly if a winding bar isn’t fully seated. This is a job where the smart move is to call a professional.
It depends on the condition of the panels, tracks, and opener, but if the door is 20 years old and the springs have failed, you’re looking at a spring replacement plus likely track and hardware work, and at some point the math tips toward a new door from Garage Door Installation in Weatherford. We’ll give you an honest assessment and a written quote for both options, so you can make the call with real numbers.
Heat expansion in the tracks and rollers can cause binding, especially on older doors, and the issue often shows up when the track fasteners have shifted slightly over years of thermal cycling. The fix is usually a track realignment and roller replacement, and it’s a job that’s safer to leave to a technician because it involves working on the door while it’s under spring tension.
Standard torsion springs in Weatherford last 7 to 10 years under typical use, but the heat cycling in Parker County tends to shorten that toward the lower end of the range, especially if the door isn’t lubricated regularly. High-cycle springs are rated for 25,000 cycles and typically outlast standard springs by several years in this climate.
Most direct garage door replacements in Weatherford do not require a permit when the opening and structural framing remain unchanged, although a new door installation that modifies the opening may. We can tell you during the estimate whether your specific situation falls under the city’s building code requirements, and the answer is part of the written scope you’ll receive before any work starts.
No, not with us. Per Clause 1 of The Haven Standard, every job gets a flat, written price and a written scope before any work begins, and that price is the price. If the technician finds additional issues during the repair, you’ll be shown the evidence, per Clause 4, and given a separate written quote for any additional work. Nothing proceeds without your approval.
The Bottom Line
The DIY-versus-professional question for garage doors in Weatherford resolves down to a simple test: does the component store energy under tension? If it does, it’s a professional job. If it doesn’t, it’s a candidate for weekend maintenance. Torsion springs, extension springs, lift cables, and header brackets all store enough force to cause serious injury, and no amount of mechanical aptitude changes that math. Lubrication, seal replacement, sensor alignment, and cleaning are safe, satisfying, and worth doing yourself. When in doubt, call (940) 353-1271 for a free estimate from Servo Garage Doors Weatherford. You’ll get an honest answer and a written price before you commit to anything.
Written by Marcus Deller, Owner at Servo Garage Doors Weatherford, serving Weatherford since 2015.