
Last updated September 20, 2026
Full 25-point door and opener safety check with every visit - springs, cables, rollers, tracks, and your LiftMaster or Chamberlain opener included
You get a price before we start. It does not change when the truck arrives.

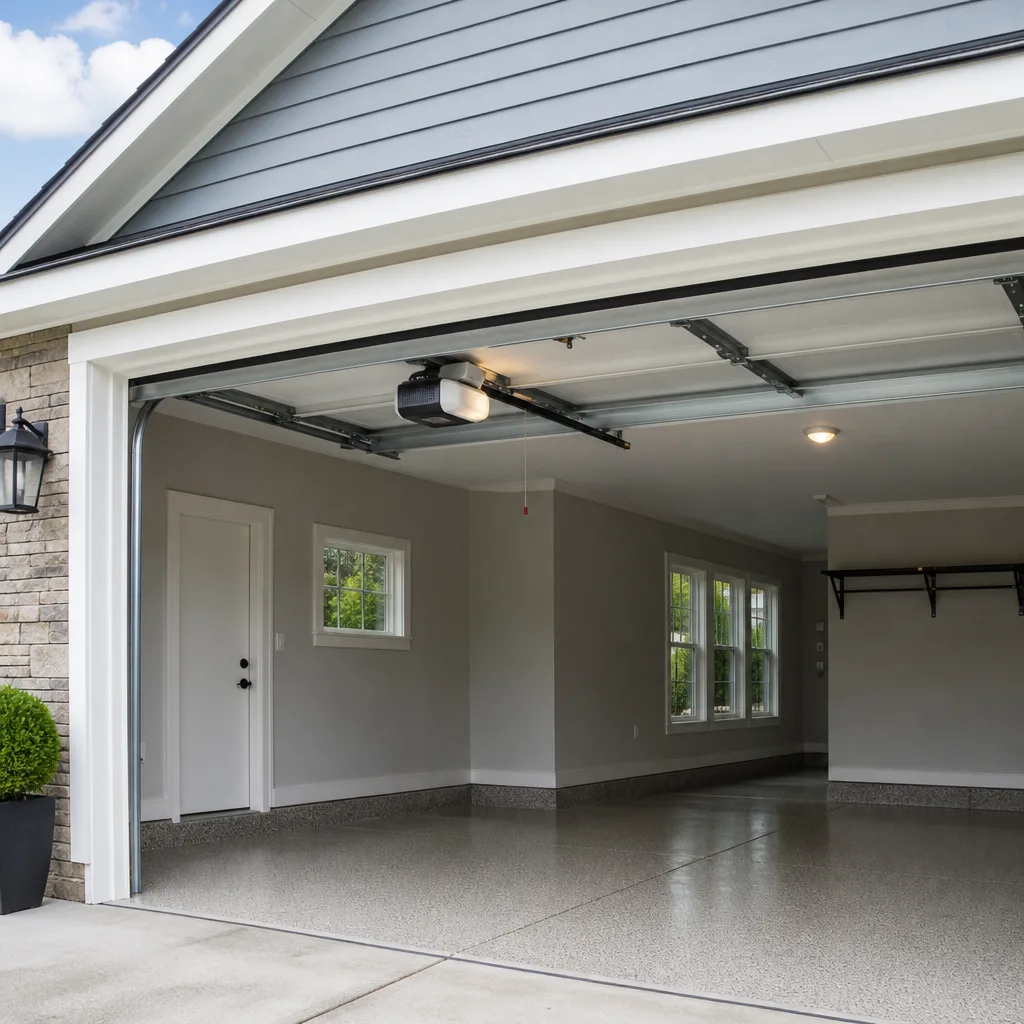
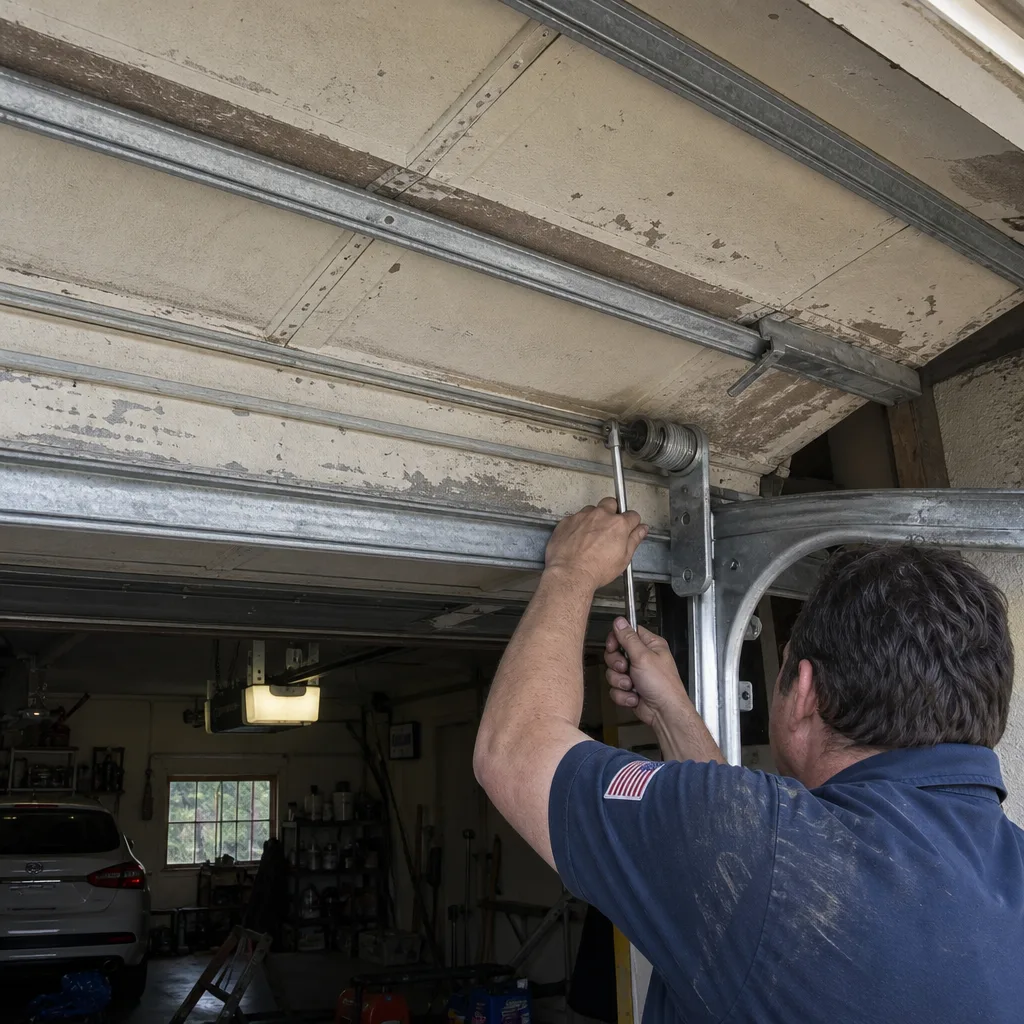 Before
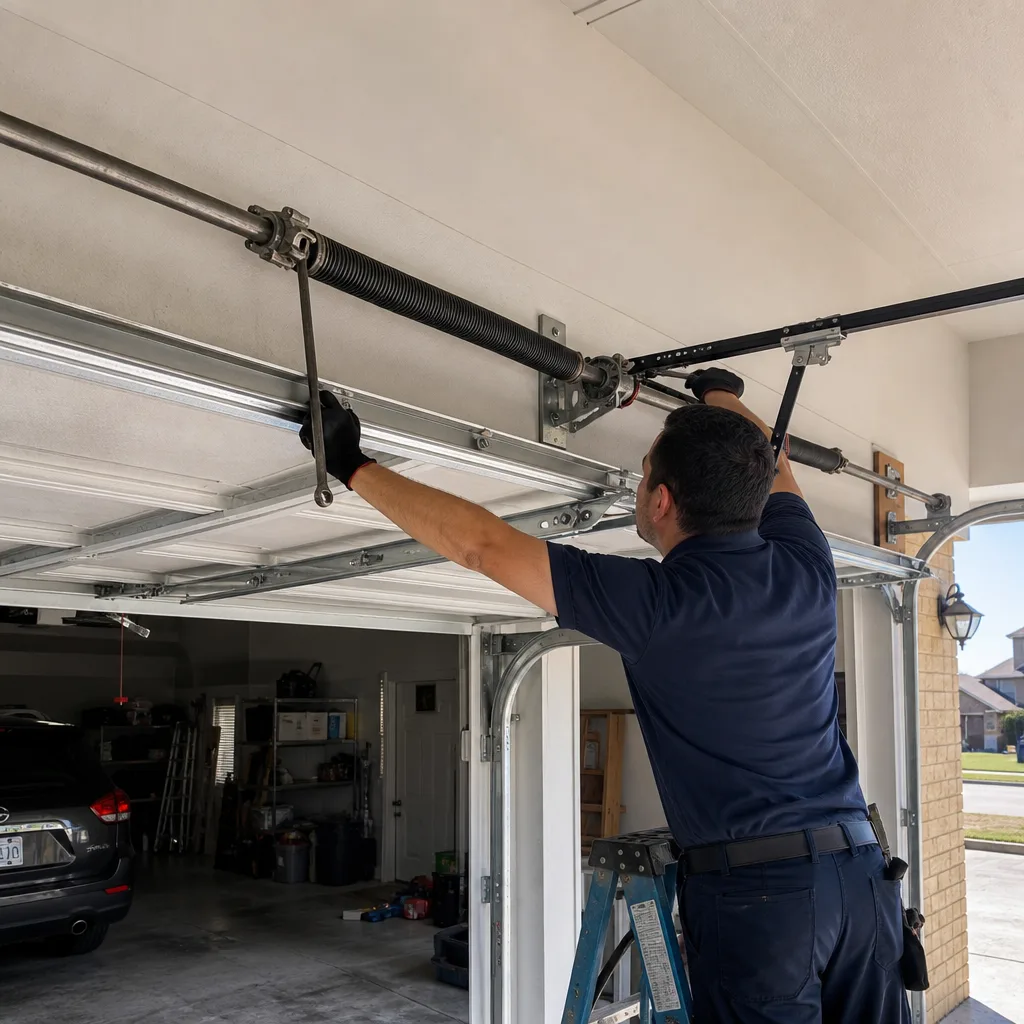 After
After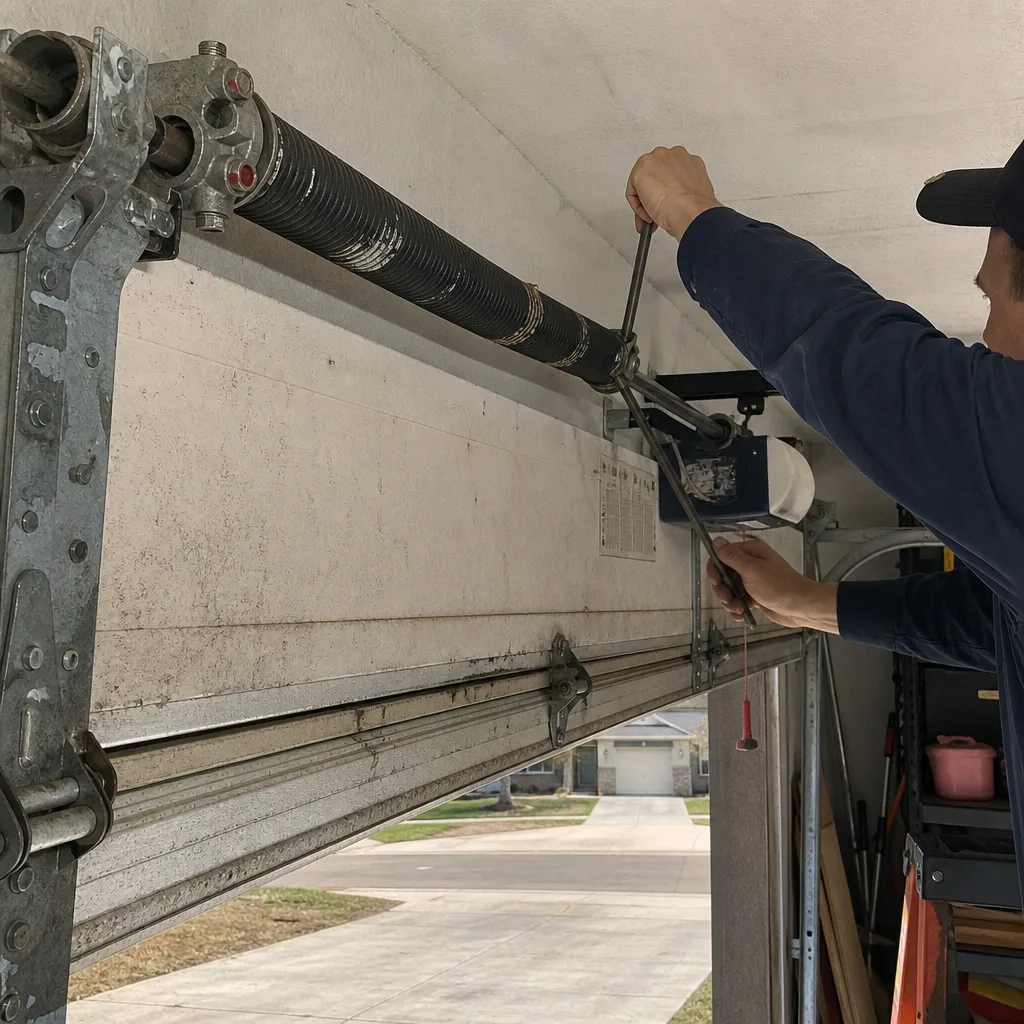 Before
 After
After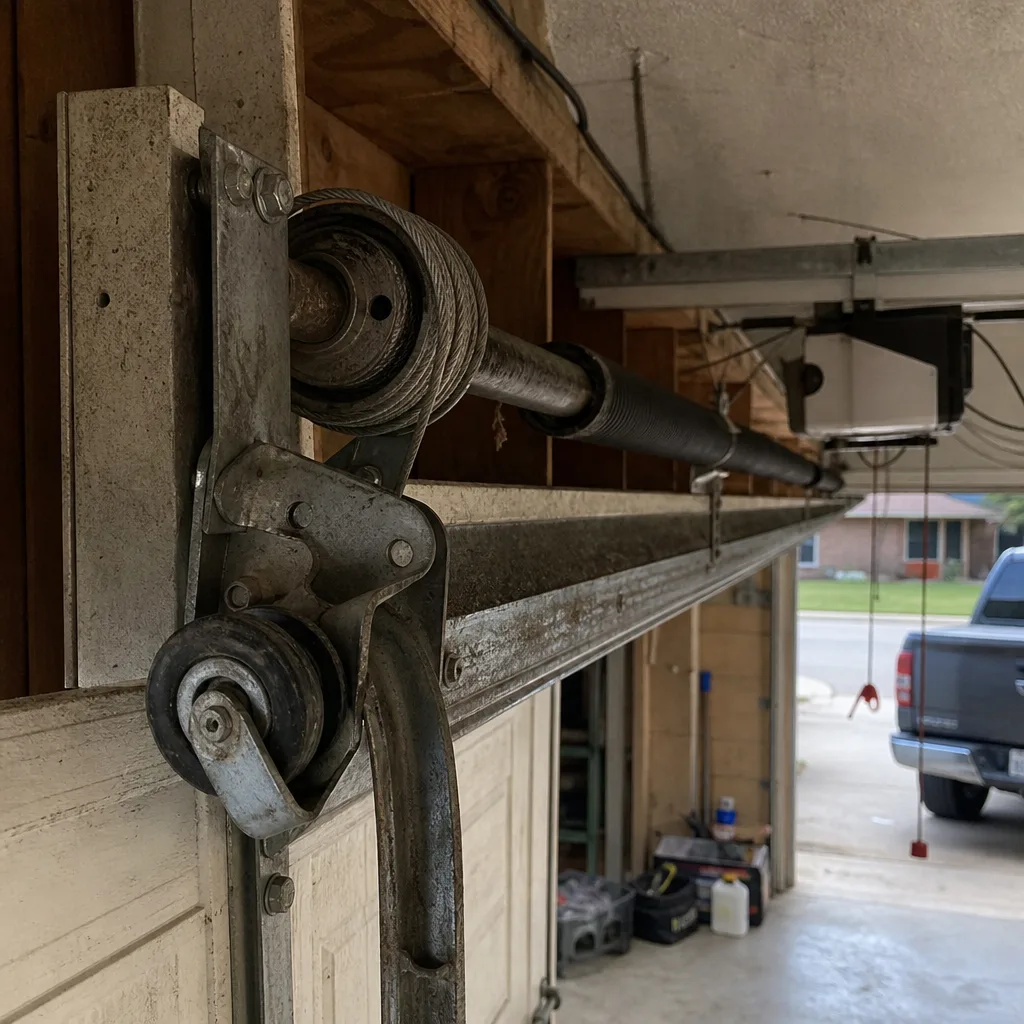 Before
 After
AfterSeasonal Garage Door Care for Weatherford: Year-Round Homeowner’s Guide
The week after Weatherford’s first hard freeze, our phones ring with spring replacements. It’s not the cold that breaks torsion springs directly. It’s what the cold does to the bottom seal, and what frozen seals do to homeowner behavior. When a door is frozen to the threshold, the opener strains against the ice. The homeowner, already late for work, hits the wall button a second time, then third. Then they pull the manual release cord and muscle the door up by hand. That manual force, applied to a spring already at 80 percent of its rated cycle life, is what snaps it. This guide teaches you how to avoid becoming that February phone call to a garage door repair company in Weatherford, broken spring in hand, watching the temperature drop.
Quick Answer
Seasonal garage door care in Weatherford means scheduling maintenance around four actual local stress events: May heat soaking, late-summer dust storms, October norther temperature drops, and January freeze-thaw cycles. The highest-value tasks are lubricating the torsion spring with a high-viscosity lubricant in May, cleaning the track and trolley assembly after dust events, checking cable tension before the first norther, and replacing a cracked vinyl bottom seal before winter. Most homeowners can handle lubrication and visual inspection themselves; cable and spring work requires a trained technician.
Table of Contents
- Weatherford’s Real Seasonal Stress Calendar
- Month-by-Month Maintenance Checklist for Weatherford
- Summer Heat and Spring Lubricant: The 95-Degree Problem
- Dust Storm Protocol for Weatherford Garage Doors
- October Norther Preparation: Cable Tension and Track Inspection
- Freeze-Thaw Cycling and Bottom Seal Failure
- The Weatherford Seasonal Task Log: A One-Page System
- Common Mistakes to Avoid
- When to Call a Professional
- Frequently Asked Questions
- The Bottom Line
BeforeAfterWeatherford’s Real Seasonal Stress Calendar
National home-maintenance magazines publish garage door checklists organized by spring, summer, fall, and winter. Those generic calendars assume a climate with predictable bloom dates and a first frost in late September. Weatherford, sitting at 1,200 feet in Parker County, doesn’t follow that model. Our stress events arrive on a schedule that has more to do with the jet stream’s position over the southern plains than with the solstice.
Here’s what actually breaks garage doors in Weatherford, and when:
- May heat soaking: The first sustained stretch of 90-degree-plus days arrives in May. Garage ceilings, unfinished and uninsulated in many older Weatherford homes, become heat traps. Interior temperatures push past 110°F. Lubricants thin, metals expand, and springs that were marginal in March start binding. We see a measurable uptick in opener strain complaints starting the second week of sustained heat.
- Late-summer dust events: July through September brings dust storms off the dry plains to the west. Fine silt works its way into the track channel, coats the trolley carriage, and packs into the hinge pins. The result is the door sounding like it’s grinding coffee every time it cycles. Left unaddressed, this grit accelerates wear on the nylon rollers and scores the aluminum track face.
- October northers: The first strong norther usually arrives in mid-to-late October. A 35-degree temperature drop in six hours causes the torsion spring’s steel to contract, the door panels to shrink slightly, and cable tension to shift. A cable that was properly seated on the drum in September can be slightly loose by Halloween. Loose cables left through winter lead to drum wrap problems and, eventually, a dropped door panel.
- January freeze-thaw cycling: Weatherford doesn’t stay cold. We freeze at night, thaw by noon, and repeat for six weeks. This cycling works on the bottom seal like a fatigue tester. Vinyl seals crack at the flex point. Once cracked, the seal stops sealing, which leads to the frozen-to-threshold problem described in the opening and to increased heating bills for homeowners with attached garages.
The national seasonal model is wrong for Weatherford because it treats temperature as a steady seasonal slope. Our real weather is a series of sharp events, and the maintenance calendar needs to match those events, not the calendar on the wall.
Month-by-Month Maintenance Checklist for Weatherford
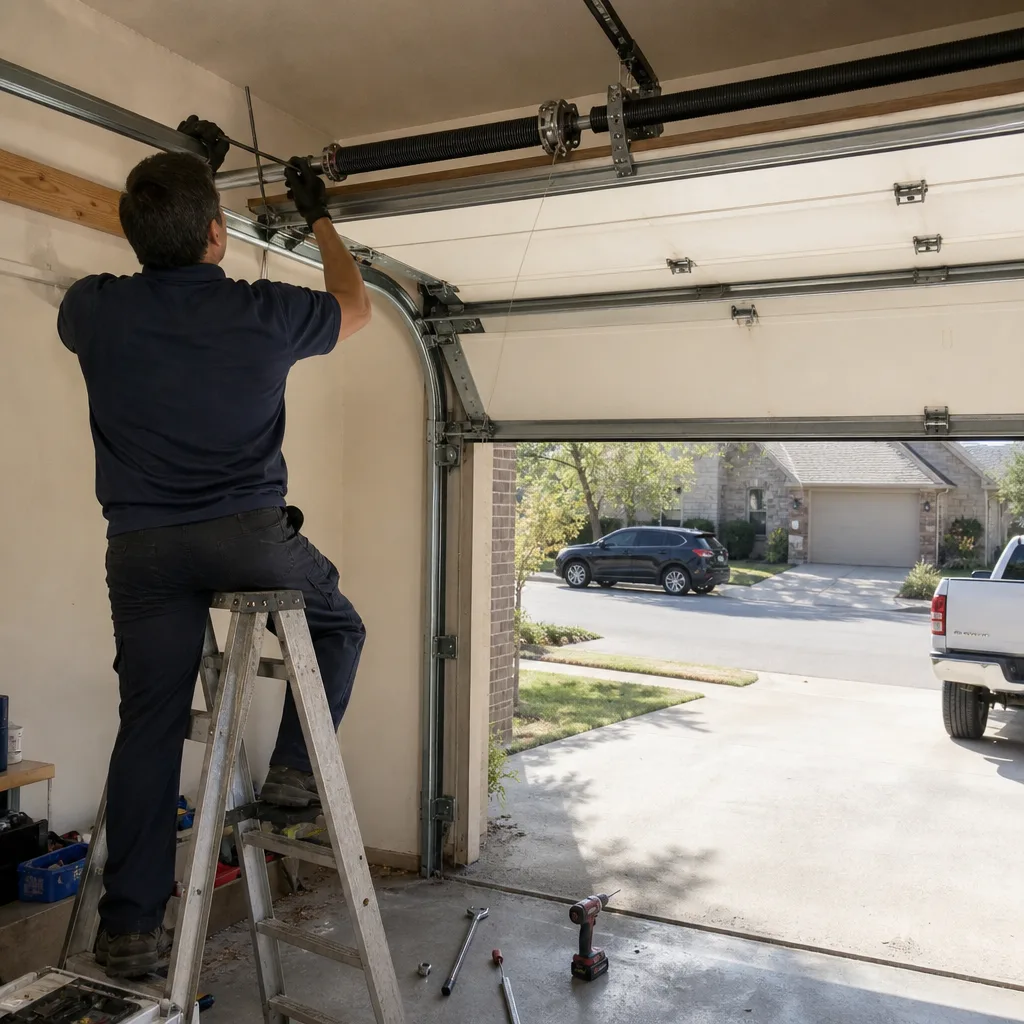
This is the checklist we use when talking to Weatherford homeowners about extending door life. It’s organized by month because that’s how the local stress calendar actually plays out. Each item takes five minutes or less except where noted.
- January: Inspect the bottom seal for freeze-thaw cracks. Run the door through a full cycle and listen for ice crunching at the threshold. If the door sticks, do not force it. Use a rubber mallet to gently break the ice bond, or wait for the thaw. Forcing a frozen door is how springs break.
- February: Post-freeze inspection. Check the cables for fraying near the bottom fixture. Check that the door is still level when halfway up, since a door that dropped hard on one side during a freeze event can knock the track alignment out.
- March: Clean the track interiors with a dry rag. Check for debris accumulated over winter. Test the auto-reverse function by placing a 2×4 flat on the ground under the door’s path and closing the door on it.
- April: Tighten all hinge and bracket bolts with a 7/16-inch socket. Check roller wear. Nylon rollers with flat spots need replacement; a flat-spotted roller sounds like a rhythmic thump as the door moves.
- May: First lubrication of the year. Apply a spray lithium grease to the torsion spring, hinge pins, and roller bearings. Do not lubricate the track-the track must stay dry for the rollers to grip properly. This is also the month to test the door balance by disconnecting the opener and lifting the door manually to waist height. A properly balanced door stays put.
- June: Check the weatherstripping on the sides and top of the door. Heat accelerates the breakdown of old rubber. Replace cracked weatherstripping with a vinyl or synthetic rubber product rated for UV exposure.
- July: Peak dust month. Run the dust-storm protocol below twice this month, even if no major storm has hit. Fine dust accumulates invisibly.
- August: Inspect the opener’s drive system. Chain-drive openers need tension checked for sag. Belt-drive openers need belt inspection for cracking. Check the emergency release cord for fraying where it passes through the trolley.
- September: Pre-dust-season deep clean. Vacuum the opener motor housing vents. Blow out the track channels with compressed air. Clean the photoelectric sensor lenses with a soft cloth.
- October: Norther prep. Check cable tension on both sides-a cable that has unwound slightly on the drum needs professional attention. Inspect the torsion spring for gaps in the coil spacing, which indicate metal fatigue. Lubricate again with a high-viscosity product before the temperature drops.
- November: Test the door a full eight times in a row, watching and listening for hesitation or uneven movement. This simulates a week of use and catches problems that a single cycle misses.
- December: Pre-freeze seal replacement. If the bottom seal shows any cracking or has lost its flexibility when pressed with a thumbnail, replace it now. A seal replaced in December costs a fraction of a spring replaced in February.
Most of these tasks take less time to perform than it took to read the list. The seasonal task log at the bottom of this guide gives you a one-page format to track completion, including pass/fail fields you can photograph for your home records.
Summer Heat and Spring Lubricant: The 95-Degree Problem
When the temperature in a Weatherford garage pushes past 95°F, standard garage door lubricants stop behaving the way their manufacturers intend. The problem isn’t that the lubricant evaporates-it’s that it thins. A lubricant rated for a specific viscosity at 70°F loses body as ambient temperature climbs, and in an enclosed garage with a west-facing door, the internal temperature routinely runs 15 to 25 degrees hotter than the outside air.
The torsion spring is the part most affected. A properly lubricated spring carries a film of grease between the coils. That film does two jobs: it reduces friction as the coils twist against each other, and it displaces moisture that would otherwise sit on the steel and start corrosion. When the film thins below its effective weight, the coils start rubbing metal on metal. The door still works-the spring doesn’t stop functioning-but the friction accelerates fatigue at the coil contact points. That acceleration shows up as reduced spring life, measured in months rather than years.
During July and August, we recommend switching to a high-viscosity lithium or silicone-based spring lubricant, or a product specifically formulated for hot climates. The label should say “high-temperature” or list a viscosity rating suitable for sustained operation above 120°F. Apply it the same way: a light coat along the length of the coil, then run the door a full cycle to work the lubricant between the coils. Wipe away excess with a rag. Too much lubricant attracts dust, and dust is the next problem on Weatherford’s calendar.
The opener itself also needs attention in the heat. Logic boards, the circuit boards that control the opener’s motor functions, are rated for operation up to a maximum ambient temperature. When a garage ceiling hits 130°F in August, some older openers run close to that ceiling. Garage door opener repair in Weatherford during late summer often involves capacitor failures and thermal overload shutdowns. Keeping the opener motor housing vents free of dust (more on that in the next section) gives the cooling system what little help it can get in an unconditioned garage.
Dust Storm Protocol for Weatherford Garage Doors
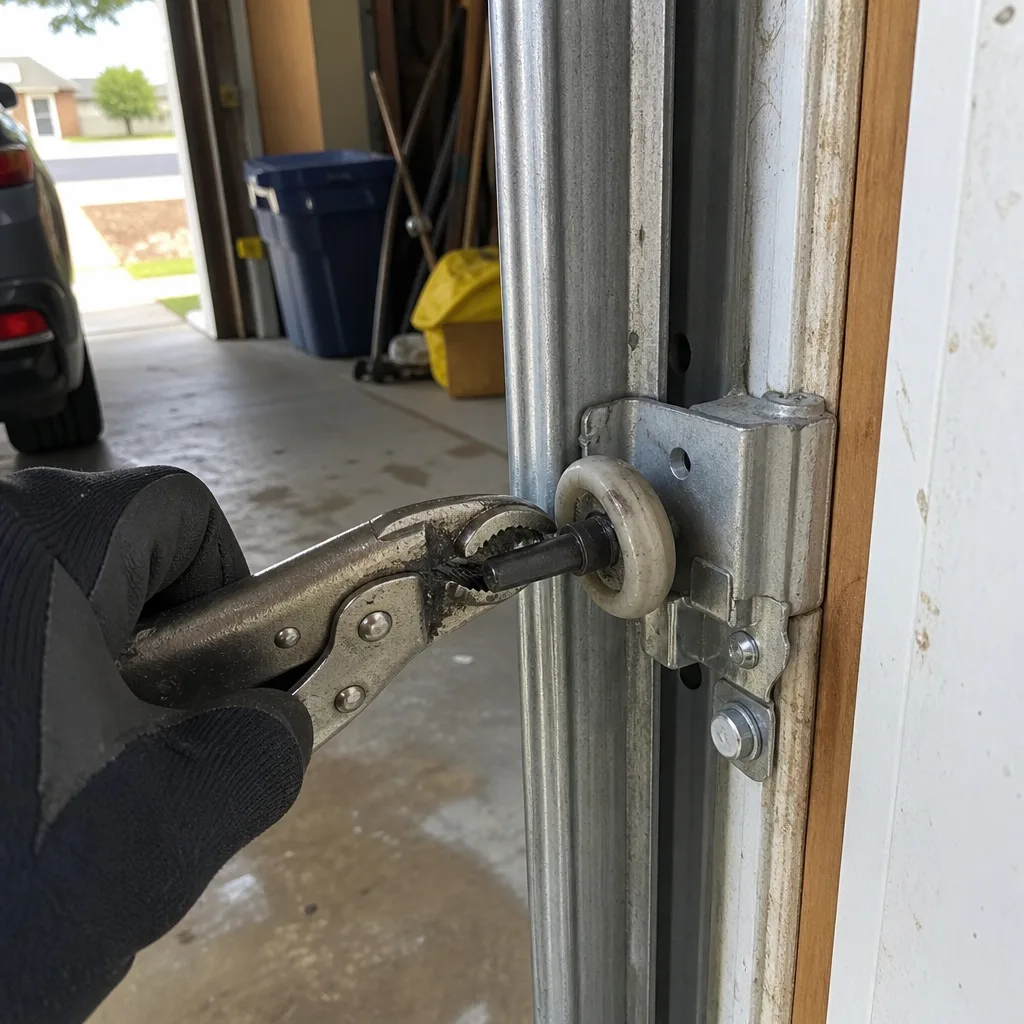
The dust that blows into Weatherford from the dry plains to the west during July and August isn’t the same as household dust. It’s fine mineral silt, abrasive like glass powder, and it finds its way into the garage through every gap: under the bottom seal, around the side weatherstripping, and through the vent gaps at the top of the door. Once inside, it settles on the horizontal surfaces first-the track channels, the top of the opener rail, the hinge tops-and then works its way into moving parts when the door cycles and vibration shakes it loose.
Here’s the protocol we recommend after any significant dust event, or twice monthly during peak dust season:
- Wait before you run the door. If a dust storm has just passed through and you can see a layer of silt on your car, the same layer is sitting on your garage door’s horizontal track channels. Runnning the door immediately drags that grit directly into the trolley carriage and roller bearings. Wait until you’ve completed the cleaning steps below. If you must open the door immediately, use the manual release and lift slowly.
- Clean the track interiors first. Use a dry microfiber rag, not a wet one. Water turns the dust into a paste that packs into the track channel corners. Wipe both vertical and horizontal track sections, top to bottom.
- Wipe the opener rail and trolley carriage. The rail is the metal bar the trolley rides along. Dust on the rail gets ground into the carriage’s contact surface with every cycle. Wipe the rail clean, then wipe the carriage body, particularly around the release mechanism where dust jams the emergency disconnect.
- Clean the photoelectric sensor lenses. The sensors at the bottom of the door opening measure an invisible beam of light. Dust on the lens diffuses that beam and causes the door to reverse for no reason. A dry soft cloth on both lenses takes five seconds.
- Check the roller bearings. Nylon rollers with sealed bearings resist dust better than steel rollers with open bearings, but even sealed bearings eventually ingest grit. Spin each roller by hand. A roller that spins freely and silently is fine. A roller that grinds or stops short needs replacement.
- Run one test cycle. After cleaning, run the door through one full open-and-close cycle. Listen for grinding or scraping. A clean door runs with a low, smooth hum. Grinding means dust has already worked into something, and that something needs attention before it becomes a full repair.
For Weatherford homes in neighborhoods like Forest Hill or Crown Pointe, where lots sit close to open pasture and the west wind comes unobstructed, this protocol matters more than for homes in the denser central neighborhoods. The dirt doesn’t care about your HOA. It lands the same way everywhere.
October Norther Preparation: Cable Tension and Track Inspection
The first strong norther of the season typically hits Weatherford between October 15 and November 10. The temperature drop is the weather event people notice. What the garage door notices is the contraction. Steel door panels shrink in the cold, the torsion spring’s wire diameter contracts, and the cables that run from the bottom brackets to the spring drum shift their seat by fractions of an inch. Fractions matter here. A cable that loses enough tension to slip one groove on the drum starts an uneven wear pattern that can lead to a dropped door panel, usually months later when you’ve forgotten about the October cold snap.
The pre-norther check has two parts:
- Inspect the cable seats on both drums. The drums are the spools at either end of the torsion spring shaft, directly above the door opening. Each cable should wrap neatly into its groove with no overlapping coils, no gaps, and no visible slack between the drum and the bottom bracket. If the cable looks loose on one side or sits out of its groove entirely, do not attempt to reseat it. The torsion spring is under hundreds of pounds of tension, and a cable under that load can sever fingers. This is a professional repair, full stop.
- Check the door’s level position at half-height. Disconnect the opener with the manual release and lift the door to the halfway point. Step back and sight across the bottom edge. A level door means balanced cable tension. A door that sits one inch higher on one side means one cable is carrying more than its share, and the imbalance will compound through winter.
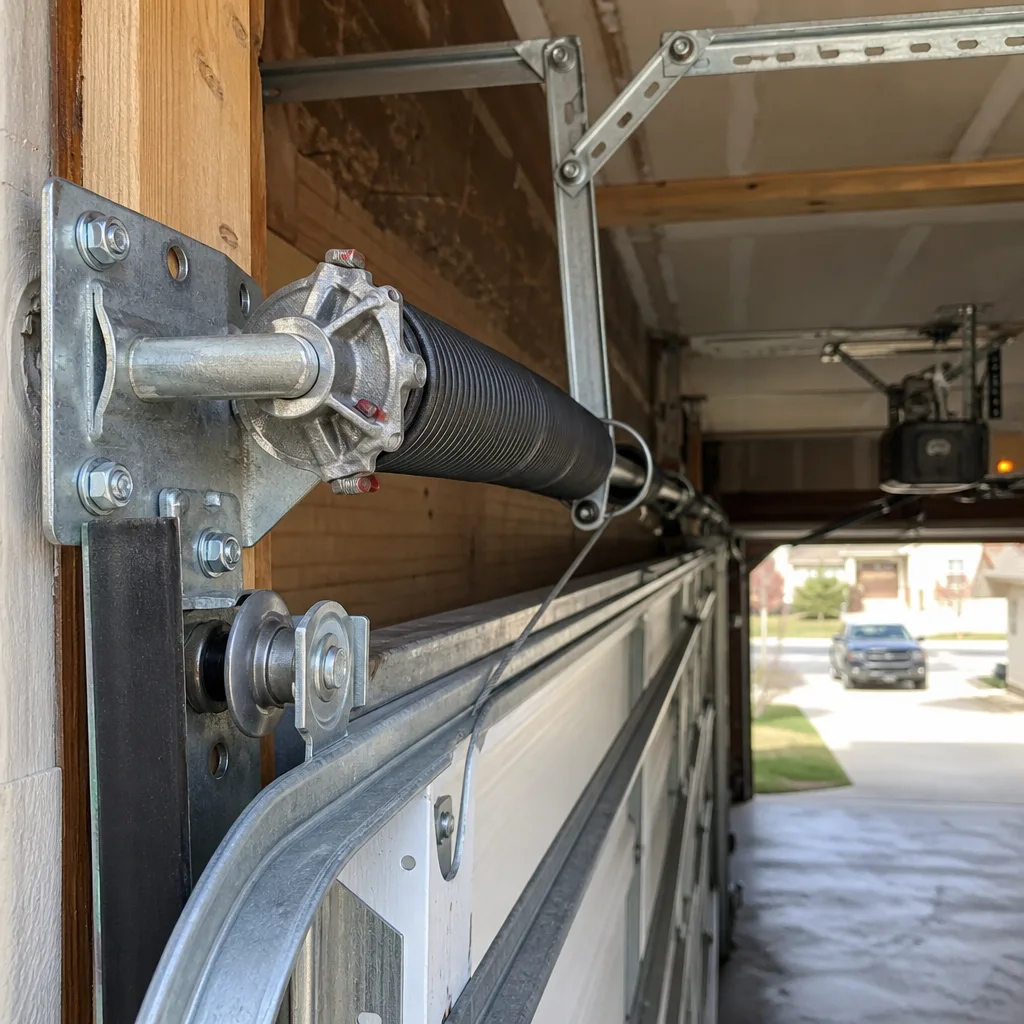
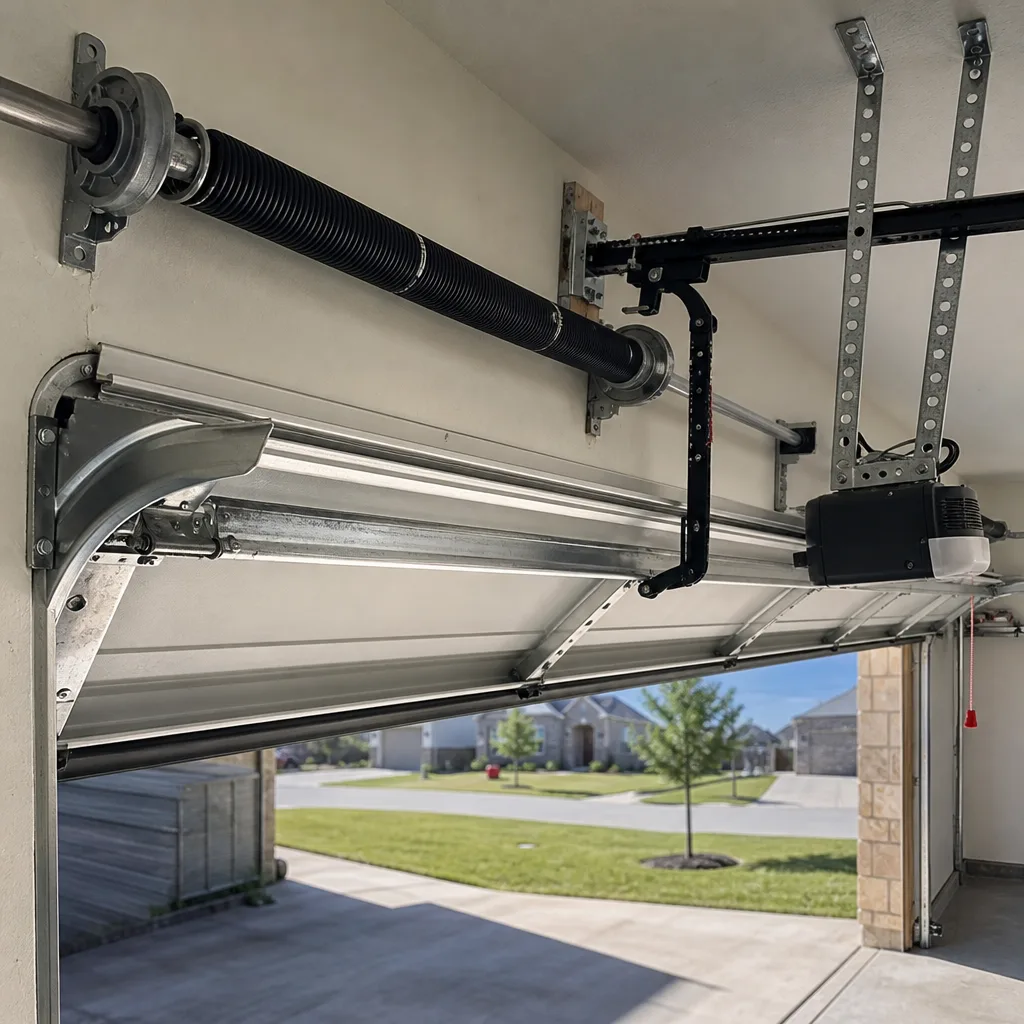
The norther is also the right time to inspect the torsion spring itself. Look along the length of the spring for a gap in the coil spacing, which marks a stress point where the metal has begun to fatigue. Springs that show a gap are running on borrowed time. A torsion spring, by the way, is the large coiled spring mounted on a steel shaft directly above the interior door header-it counterbalances the door’s weight so the opener motor only has to provide movement, not lifting force. These springs are rated in cycles, typically 10,000 for standard springs, and Weatherford’s freeze-thaw calendar hardens the metal slightly with each winter. Replacing a spring before it snaps is a $250 to $450 job. Waiting until it snaps turns it into an emergency repair call, often on the coldest morning of the year.
Freeze-Thaw Cycling and Bottom Seal Failure
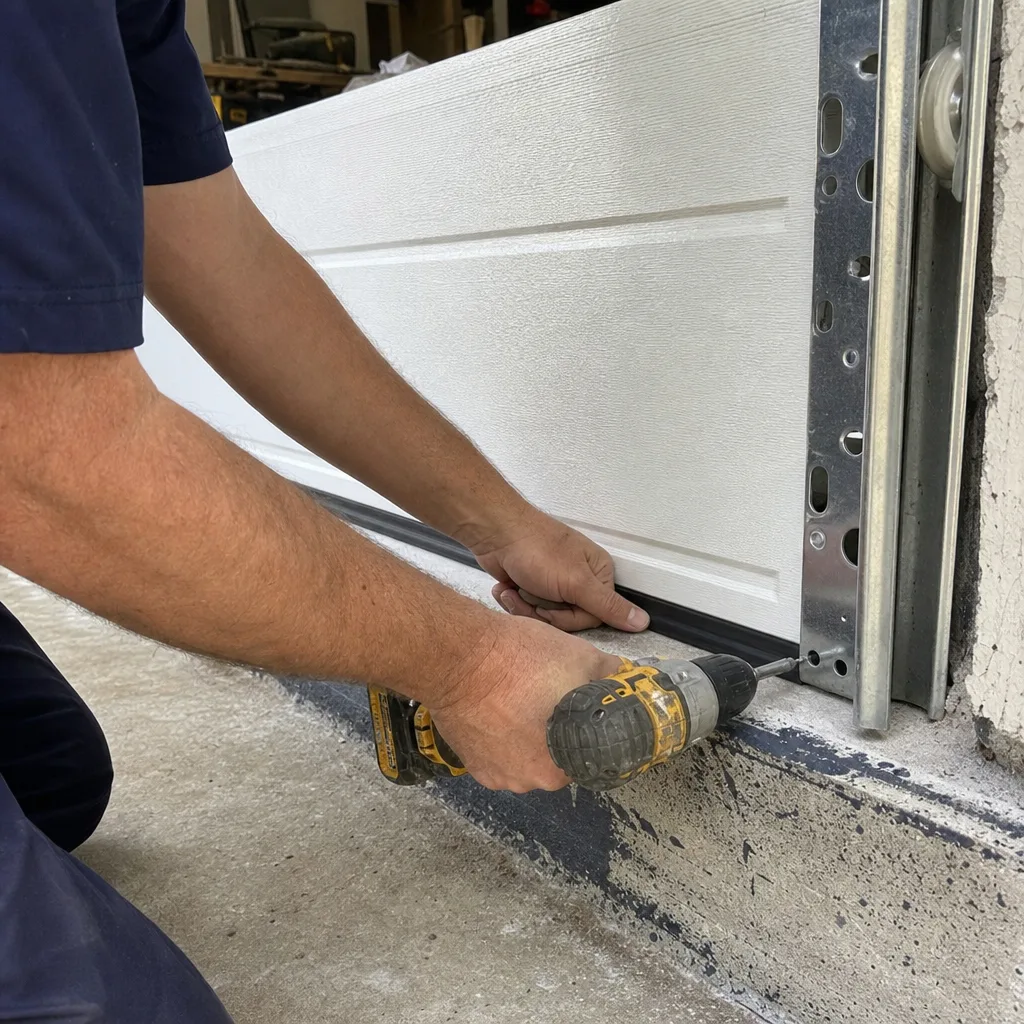
Sustained cold is easier on a garage door bottom seal than freeze-thaw cycling. A seal that drops to 20 degrees and stays there holds its shape and does its job. A seal in Weatherford’s January goes from 22 degrees at 3 a.m. to 48 degrees at 2 p.m., then back down again, every day for eight weeks. Each cycle makes the seal material flex. Flexing creates micro-cracks at the stress points-the corners where the seal bends around the bottom of the door panels, and the zipper-shaped channel where the seal slides into its mounting track. Micro-cracks widen. By mid-February, the seal looks like a dry riverbed.
Once the seal cracks, three things happen in sequence: cold air enters under the door, warm air escapes from the attached garage, and moisture from rain or morning ice melt creeps into the gap. On the next freeze, that moisture freezes the seal to the threshold. The door is now frozen shut, which circles back to the opening paragraph of this guide and the February spring-replacement calls we dread.
Material choice matters in Weatherford. EPDM (ethylene propylene diene monomer) rubber is the right choice for freeze-thaw climates because it stays flexible down to about -40 degrees and doesn’t become brittle with repeated temperature cycling. Vinyl seals are cheaper and fine for garages in climates that stay warm, but vinyl stiffens at temperatures near freezing and becomes progressively more brittle with each January. If you’re replacing a seal in Weatherford, pay the small premium for EPDM. It lasts roughly twice as long here as a vinyl seal, which makes the economics straightforward.
Installation of a bottom seal is generally a homeowner-level task on most door brands-the old seal slides out of the track channel, the new one slides in, and the garage door installation team at Servo can confirm the right profile if you’re unsure. Clopay and Amarr doors use slightly different mounting channel profiles than Wayne Dalton, and ordering the wrong profile means the seal won’t seat, which defeats the purpose on the first freeze.
The Weatherford Seasonal Task Log: A One-Page System
Most maintenance guides tell you what to do but leave the tracking to your memory. Here’s a one-page format you can copy into a notebook, print, or photograph with your phone. Each task has a pass/fail field. When a task fails, photograph the evidence-the cracked seal, the frayed cable, the misaligned track-and file the photo in a garage-maintenance album on your phone. That photo record is the same discipline we apply on every service visit, because a photo of a failing part dated in October is more useful in February than a memory of it.
- January (post-freeze seal inspection): Pass / Fail / Photo taken
- February (cable fray and door level check): Pass / Fail / Photo taken
- March (track clean and auto-reverse test): Pass / Fail / Photo taken
- April (hinge and bolt torque, roller inspection): Pass / Fail / Photo taken
- May (spring lubrication and balance test): Pass / Fail / Photo taken
- June (weatherstripping replacement as needed): Pass / Fail / Photo taken
- July (dust protocol, first pass): Pass / Fail / Photo taken
- August (dust protocol, second pass; opener drive inspection): Pass / Fail / Photo taken
- September (pre-dust deep clean, sensor lens wipe): Pass / Fail / Photo taken
- October (norther prep: cable tension, spring coil inspection, high-viscosity lube): Pass / Fail / Photo taken
- November (eight-cycle endurance test): Pass / Fail / Photo taken
- December (pre-freeze bottom seal replacement decision): Pass / Fail / Photo taken
The log works because it matches the local calendar. You’re not doing “fall maintenance” in September because a magazine said so. You’re checking cable tension in October because that’s when Weatherford’s temperature swings actually stress the cables. The distinction is small on paper but large over ten years of ownership.
Common Mistakes to Avoid
- Lubricating the track. The track should be clean and dry. Grease on the track attracts dust and grit, which turns into a cleaning compound that wears the track face and the roller bearings faster. Lubricate the spring, hinges, and rollers-never the track itself.
- Forcing a frozen door open. The single highest-cause of January and February spring failures in Weatherford is manual force applied to a door frozen to the threshold. Wait for the thaw, or break the ice bond with a mallet. Ten minutes of patience saves a $300 spring and a day of work.
- Ignoring the October norther because the garage door still works. Cables shift slowly. A door that operates fine on October 15 may still have a cable seating problem that only manifests as a snapped cable in March. The October check costs ten minutes.
- Using the wrong bottom seal material. Vinyl seals are cheaper upfront and fail faster in Weatherford’s freeze-thaw cycle. EPDM costs more and lasts roughly twice as long here. Buying vinyl because it’s what the hardware store stocks is false economy.
- Skipping the auto-reverse test. The auto-reverse mechanism is the door’s main safety system. Testing it takes one minute and a 2×4. If the door doesn’t reverse on contact, the door is unsafe, and the problem is usually a simple sensor or limit-switch adjustment, not a major repair.
- Waiting to replace a cracked seal until you feel a draft. By the time you feel cold air moving under the door, the seal has been cracked for months, and moisture has been freezing and thawing at the threshold the whole time. Replace at the first visible crack, ideally in December.
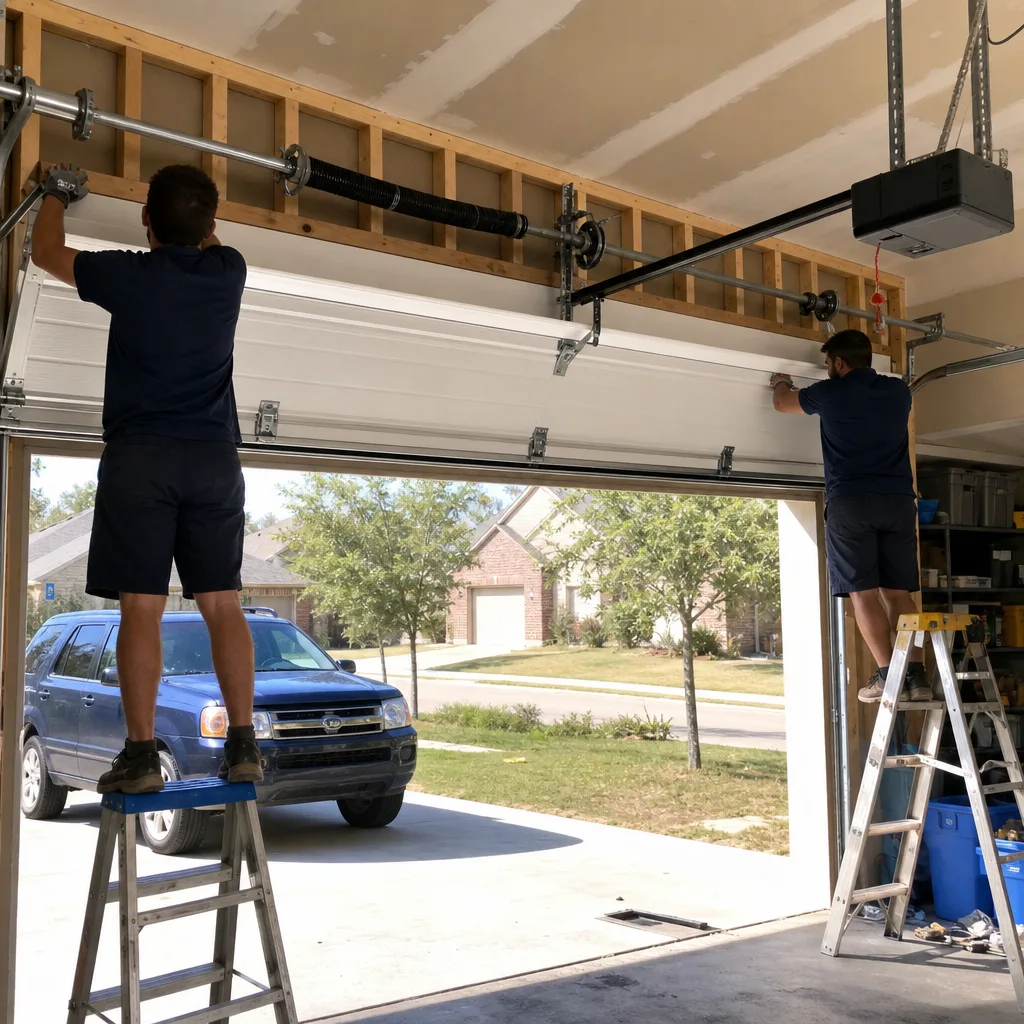
- Attempting DIY torsion spring work from a video. The torsion spring assembly is the one garage door component that can maim or kill. The spring holds enough tension to sever fingers, break wrists, or worse. This is not hyperbole. No amount of YouTube confidence offsets the risk. Leave cable, drum, and spring work to a trained technician, period.
When to Call a Professional
Some garage door work is safely in the do-it-yourself column: lubrication, cleaning, seal inspection, balance testing. Some work is not. If you see a frayed cable, a cracked torsion spring, a door that sits unevenly at half-height, or a drum with the cable out of its groove, do not attempt a repair. Cable and spring work involves hundreds of pounds of stored tension and is the leading cause of serious garage door injuries. The same rule applies to any opener issue involving the logic board or internal wiring, where a misconnected wire can fry the whole unit and void the warranty. Servo Garage Doors Weatherford provides free estimates on repair work throughout the Weatherford area. Call (940) 353-1271 to schedule. Every job includes a flat, written price before any work begins, per Clause 1 of The Haven Standard.
Frequently Asked Questions
How often should I lubricate my garage door in Weatherford?
Twice a year: once in May before the summer heat arrives, and once in October before the northers hit. Use a high-viscosity lithium or silicone spray on the torsion spring, hinge pins, and roller bearings. Never lubricate the track. Skip the May lubricant application and the spring runs dry through the hottest months, accelerating coil fatigue.
Why does my garage door stick to the concrete in winter?
The bottom seal gets wet from rain or ice melt, then freezes to the concrete threshold during the overnight low. Weatherford’s freeze-thaw pattern makes this a weekly event in January. A cracked vinyl seal makes it worse because water sneaks under the seal and freezes between the metal door bottom and the concrete. Replacing a cracked seal with EPDM rubber reduces the sticking frequency significantly.
Can I fix a broken garage door spring myself?
No. Torsion springs-the large springs on the shaft above the door-hold enough tension to cause severe injury or death. Cable work carries the same risk. This is the one category of home maintenance where the correct DIY answer is always a professional. A spring replacement typically runs $250 to $450 in Weatherford depending on the door weight and spring type, and the work includes reseating both cables and balancing the door.
How do dust storms affect my garage door opener?
Fine mineral dust works into the opener rail and the trolley carriage, causing the door to grind and the carriage to bind. The opener motor then strains against the extra friction, which shortens its life. Clean the rail and carriage after major dust events and vacuum the motor housing vents twice monthly during July and August. If the opener is already grinding, stop using it and have it inspected before the motor burns out-garage door opener repair is cheaper than replacement.
What kind of bottom seal should I buy in Weatherford?
EPDM rubber. It stays flexible at temperatures far below anything Weatherford produces, and it handles the daily freeze-thaw cycling our winters bring. Vinyl is cheaper but gets brittle after one or two winters and cracks at the corners. The seal profile matters too-Clopay, Amarr, Genie, and Wayne Dalton doors use different mounting channels, so take a photo of the existing seal profile before buying a replacement.
How much does seasonal garage door maintenance cost in Weatherford?
Do-it-yourself seasonal maintenance runs about $15 to $25 per year in lubricant and cleaning supplies, plus a $25 to $40 bottom seal replacement when needed. A professional inspection and tune-up service in the Weatherford market typically runs $75 to $150 depending on the scope. If a professional visit identifies needed repairs, you should receive a written, itemized price before any work proceeds-and if you don’t like the price, a second opinion should cost you nothing. The most important number to remember is this: a $40 seal replaced in December saves a $300 spring job in February. Call (940) 353-1271 for a free estimate on anything you’d rather not do yourself.
The Bottom Line
Weatherford garage doors don’t need more maintenance than doors anywhere else. They need it at different times. The four stress events-May heat, summer dust, October northers, January freeze-thaw-each attack a different component, and the fix for each is specific, cheap, and mostly doable on a Saturday morning. Keep the track dry, lube the spring in May and October, run the dust protocol in high summer, check cable tension before the first norther, and replace a cracked bottom seal before the first hard freeze. Do those five things on Weatherford’s actual calendar, document them with a pass/fail log and photos, and your garage door will outlast your mortgage. Skip the October check and we’ll see you in February, springs in hand, waiting for the temperature to climb.
Written by Marcus Deller, Owner at Servo Garage Doors Weatherford, serving Weatherford since 2015.