
Last updated September 20, 2026
Full 25-point door and opener safety check with every visit - springs, cables, rollers, tracks, and your LiftMaster or Chamberlain opener included
You get a price before we start. It does not change when the truck arrives.
 Before
 After
After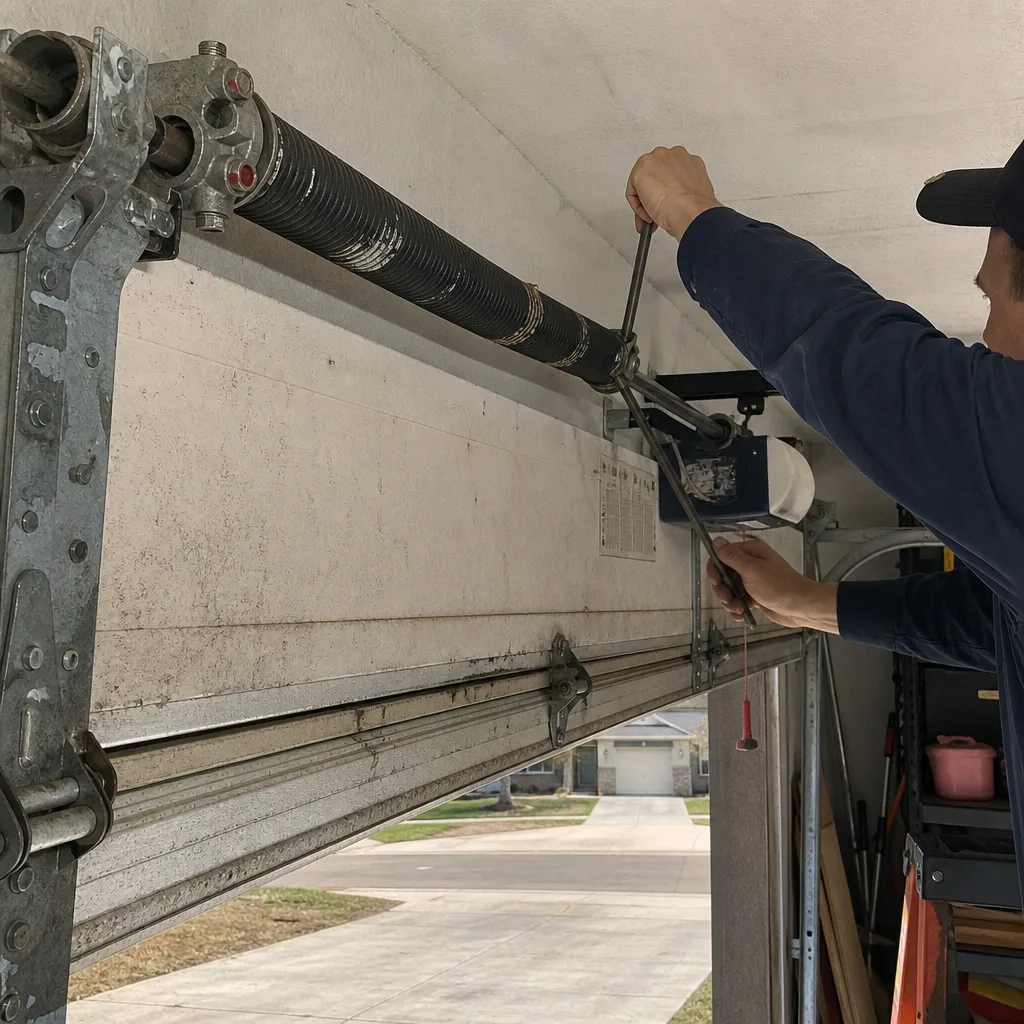 Before
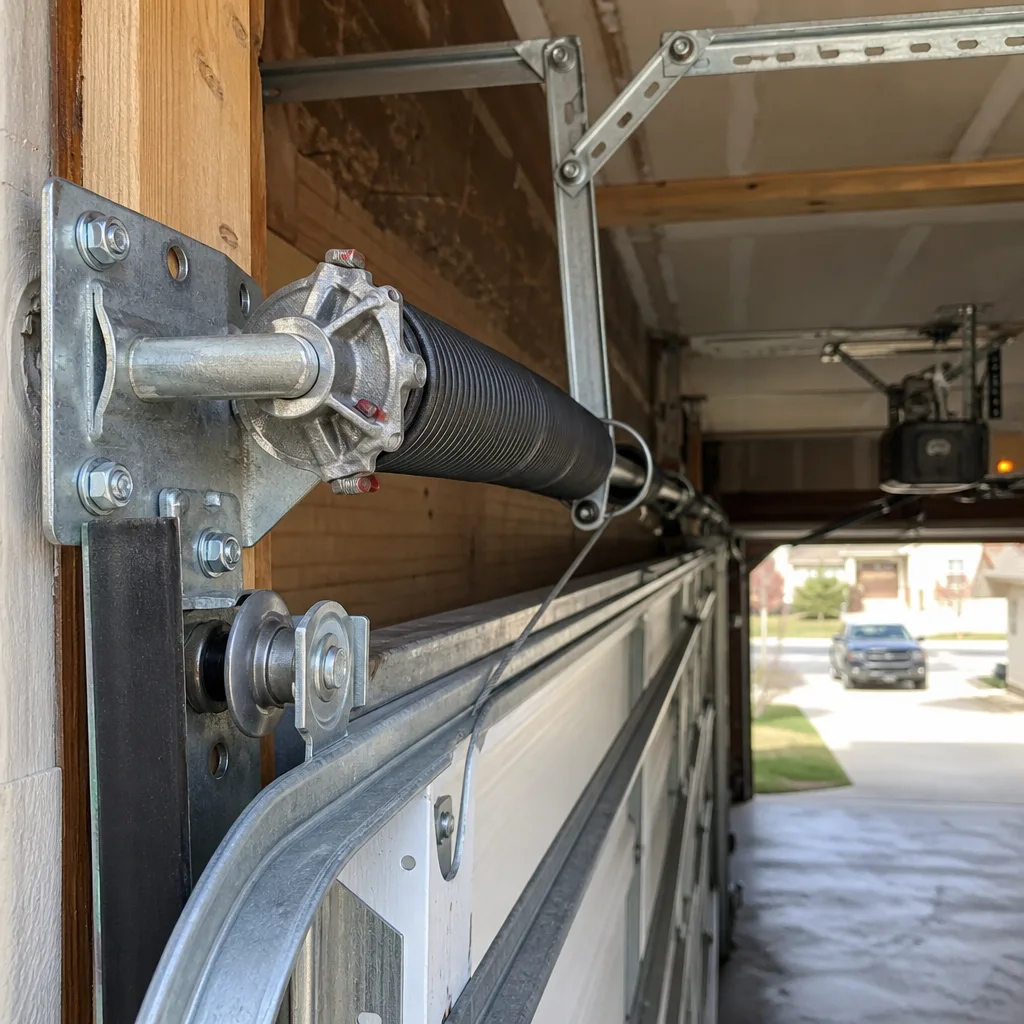 After
After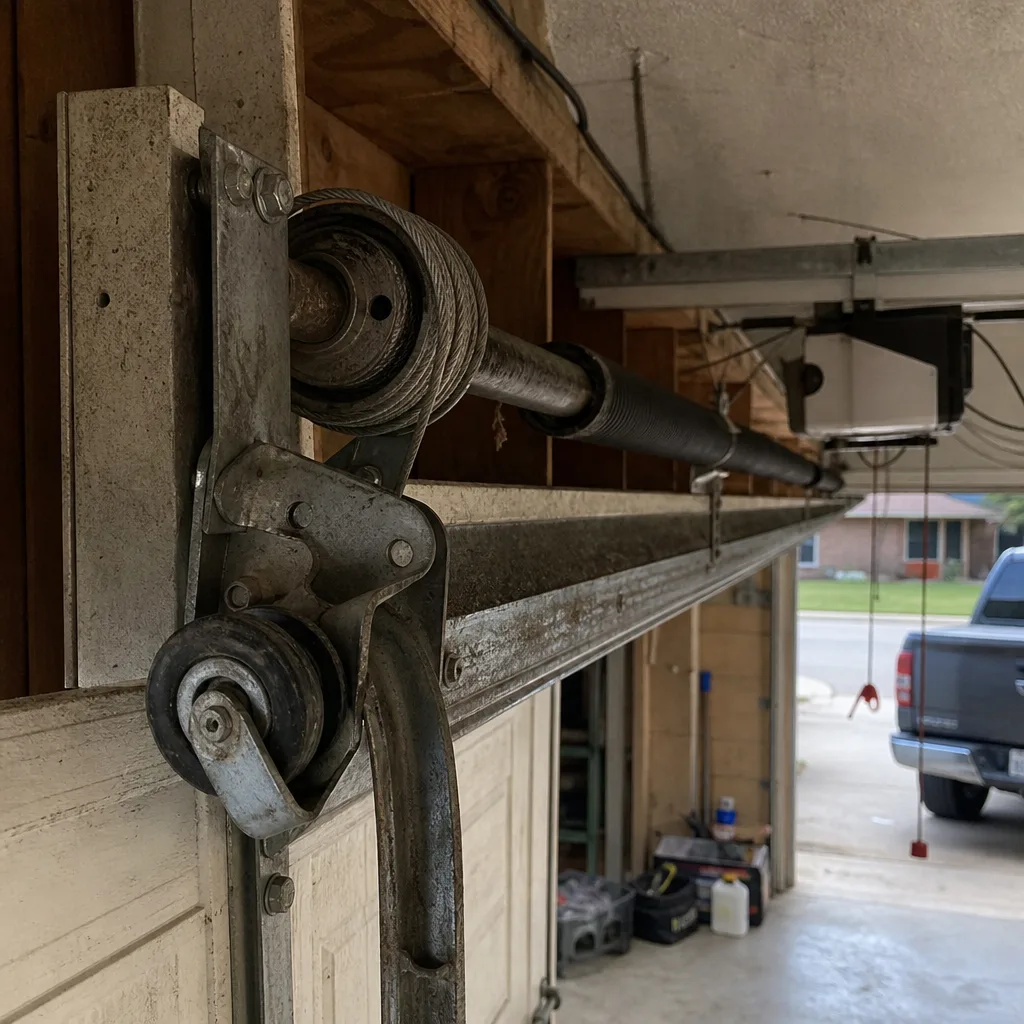 Before
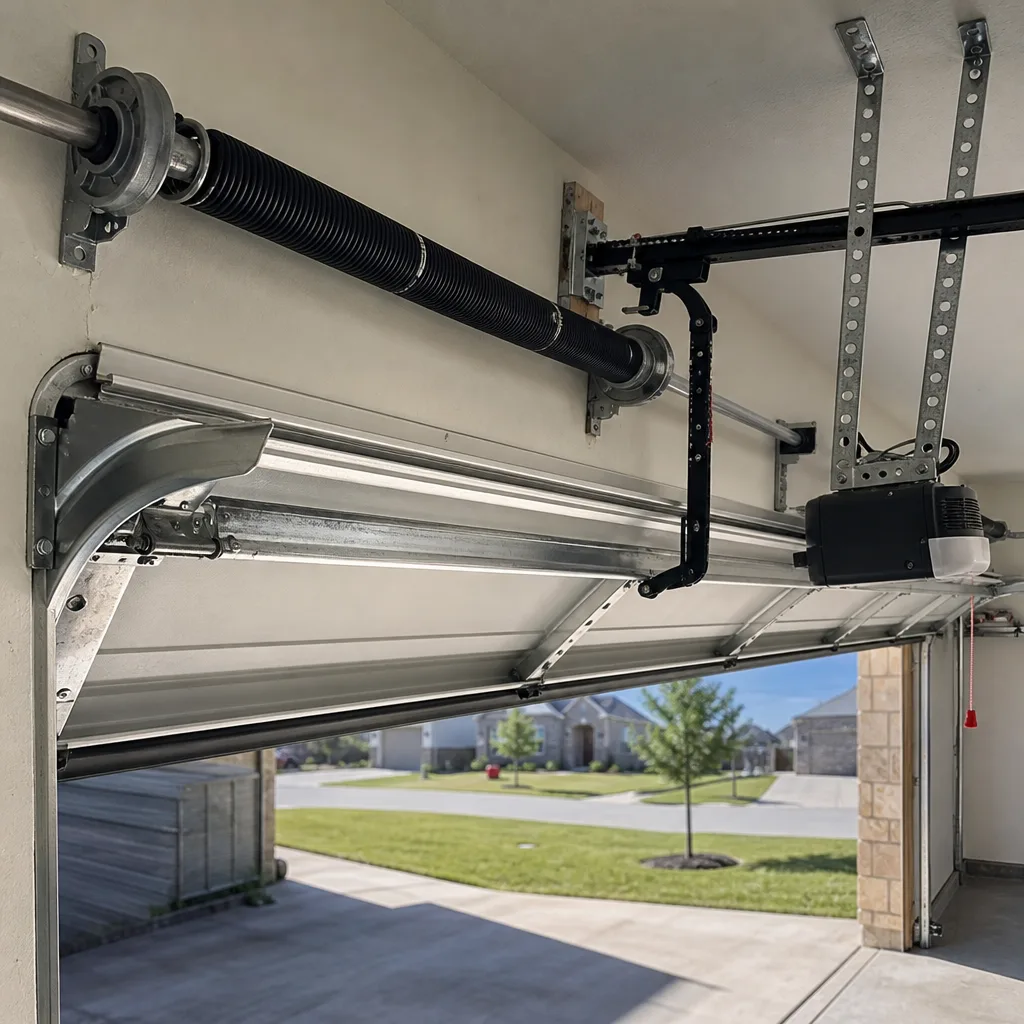 After
AfterGarage Door Repair Maintenance Checklist for Weatherford Homeowners
The single most common spring failure we document in Weatherford is not caused by age. It’s caused by a homeowner who lubricated a torsion spring with WD-40. WD-40 is a solvent, not a lubricant. It strips the protective coating off the spring wire, accelerates metal fatigue, and turns a spring that should last 10,000 cycles into one that snaps at 3,000. This guide is a task-by-task maintenance checklist written for Weatherford’s climate: the July heat, the March wind, the red clay dust that works its way into every roller and hinge. For related reading, see our Garage Door Warning Signs: A Weatherford Homeowner’s Reference Guide. By the end, you’ll know exactly what to inspect, what product to use, what to leave alone, and what to document so your warranty stays intact.
Quick Answer
A garage door maintenance checklist for Weatherford homeowners should cover four areas: visual inspection of springs, cables, rollers, and tracks; lubrication of specific components with white lithium grease (never WD-40 on springs); three no-tool safety tests (balance, reversal, manual disconnect); and Weatherford-specific seasonal checks, including bottom seal inspection after dust storms and cable tension measurement in July heat. The entire checklist takes 45 minutes or less, and most tasks are safe for a homeowner. Torsion spring replacement and cable work under tension are not.
Table of Contents
- Monthly Visual Inspection (10 Minutes)
- Quarterly Lubrication: The Right Products, The Right Spots
- The Three Tests That Require Only Eyes and a Quarter
- Weatherford-Specific Seasonal Checks
- Warranty Protection: What to Do Yourself, What to Document, What to Leave Alone
- The Maintenance Log: Your Paper Trail Against Inflated Quotes
- Common Mistakes to Avoid
- When to Call a Professional
- Frequently Asked Questions
BeforeAfterMonthly Visual Inspection (10 Minutes)
This is the highest-value maintenance you can do, and it costs nothing. Most component failures announce themselves weeks before they become emergencies. A crack in a hinge, a frayed cable strand, a roller that wobbles: these are early warnings. Catching them means a $65 hinge replacement instead of a $400 track realignment. Catching a frayed cable means a $185 cable replacement instead of a door that crashes down at 2 a.m. and a bent lower panel that costs $500 to replace.
The Walk-Around Checklist
- Stand inside the garage, door closed, lights on. Look at the torsion spring above the door. Is it one continuous coil, or do you see a gap? A gap means a broken spring. Do not operate the door. Call a professional. The spring is under enough tension to remove fingers or worse.
- Look at both cables. Cables run along each side of the door from the bottom bracket up to the drum near the top. You’re looking for frayed strands, rust, or a cable that looks loose. A cable with one broken strand will fail completely within 50 cycles. That’s one month of normal use.
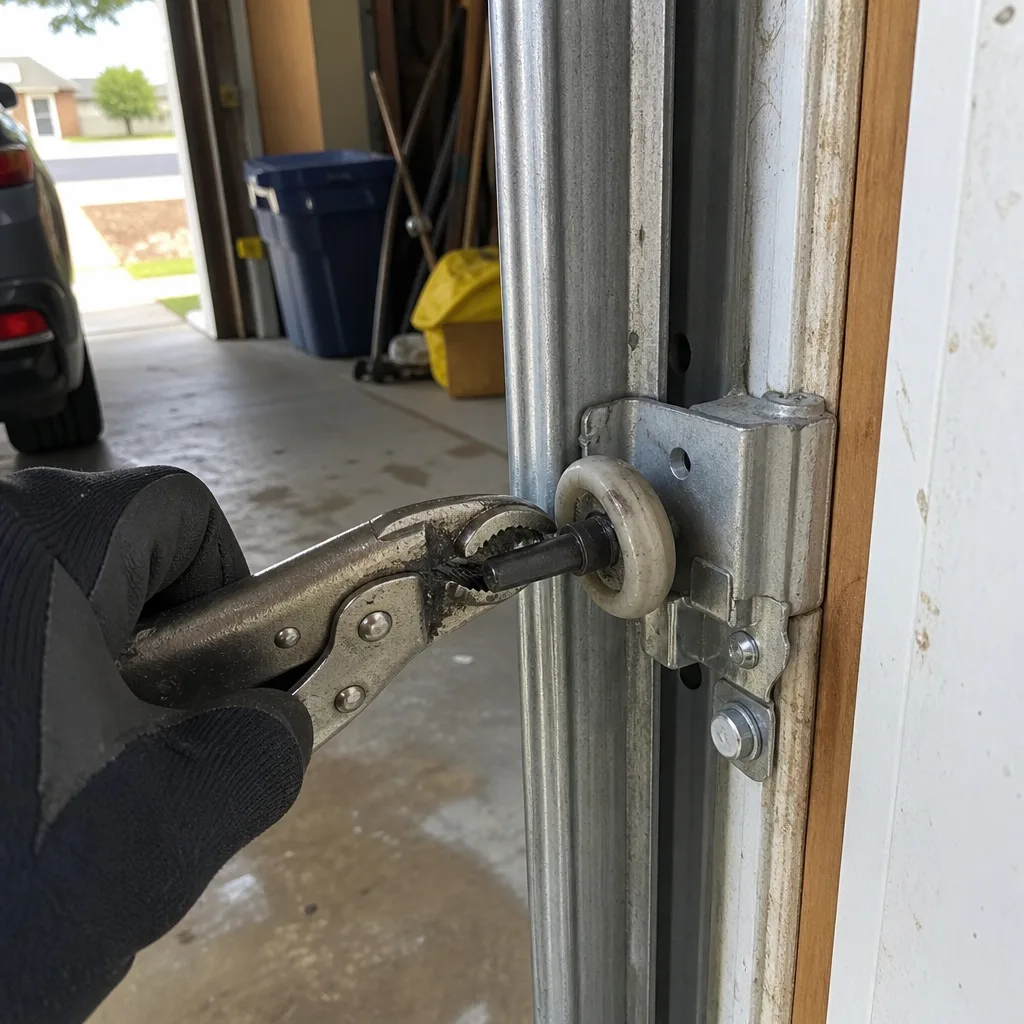
- Check the rollers. There are typically 10 to 12 of them: two per hinge assembly, plus top and bottom. Each roller should turn freely when the door moves. A roller that skids instead of rolls is grinding flat spots into the metal wheel. Flat-spotted rollers destroy tracks.
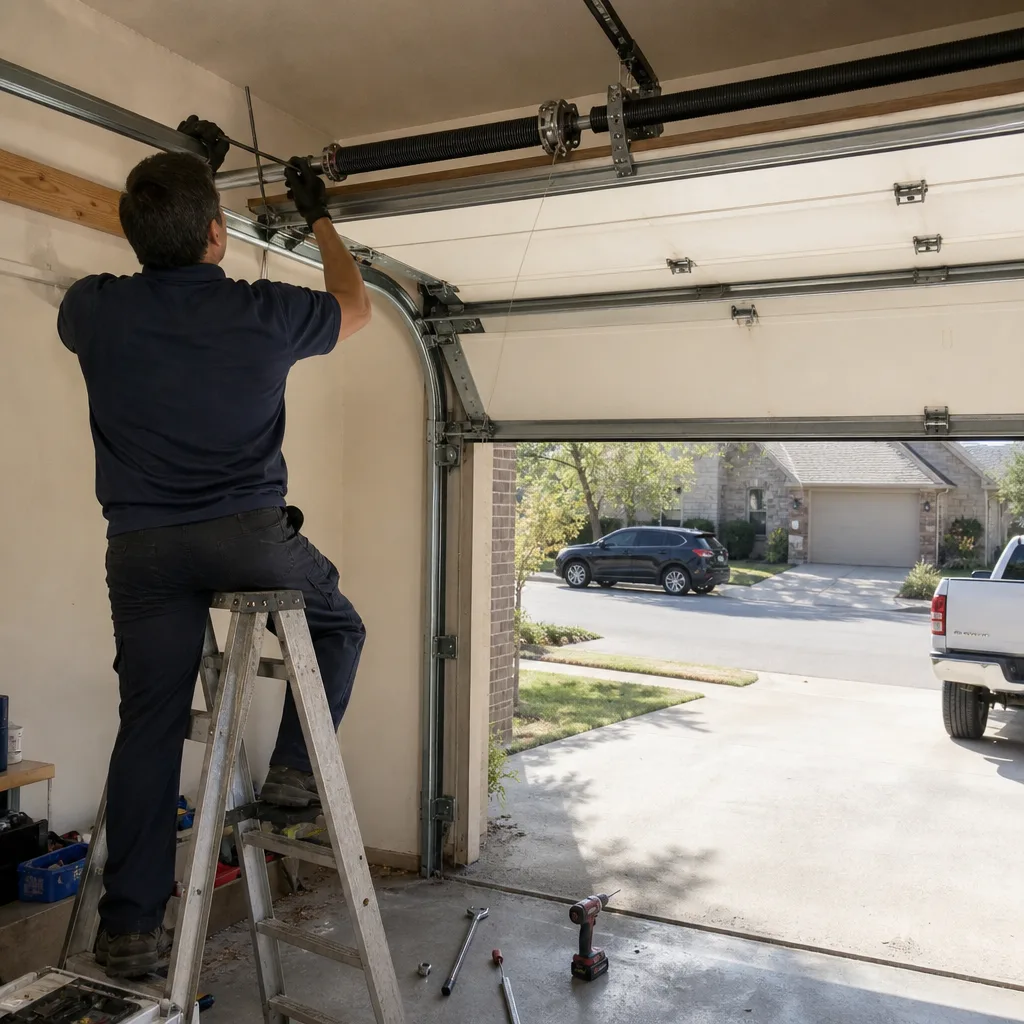
- Look at the tracks themselves. On each side, the vertical track should be perfectly perpendicular to the wall and the horizontal track perfectly parallel to the ceiling. Weatherford’s clay soil shifts with moisture swings, and a house settles. A track that’s out of alignment by a half inch puts lateral force on every roller and shortens their life by years.
- Check hinges and brackets. Every hinge should be rigid. Give the door a light push from inside: any slop or rattle means a hinge bolt has loosened. Tighten with a socket wrench. Do it now; a loose hinge is how doors rack and bind.
- Bottom seal. Look at the rubber strip along the bottom of the door. In Weatherford, dust storms and summer heat both attack this part. Cracks, brittleness, or daylight visible under the door means replacement. A failed bottom seal is how scorpions, mice, and 100-degree air get inside.
Pass/Fail Criteria
Pass: no spring gap, no frayed cable strands, no cracked hinges, no loose fasteners, seal is pliable and contacts the floor evenly. Fail: anything else. A fail on spring gap or cable fray is a stop-and-call situation. A fail on a loose hinge is a fix-it-today situation. A fail on bottom seal is a fix-it-this-week situation.
We photograph every component we touch during a service call. You don’t need to do that monthly. But if you see something that looks wrong and you’re not sure, take a phone picture. It becomes the baseline for comparing next month, and it’s exactly the kind of documentation that makes a future repair conversation faster and more honest. That’s the philosophy behind our garage door repair in Weatherford process: evidence before estimate.
Quarterly Lubrication: The Right Products, The Right Spots
Every generic maintenance list says “lubricate moving parts.” That’s worse than useless; it’s actively harmful if you use the wrong product. Here’s what actually goes where, in order, with the exact product type to buy at any Weatherford hardware store.
What to Buy
- White lithium grease (spray or tube). This is your primary lubricant. It’s thick enough to stay where you put it and doesn’t attract dust the way oil does. A can costs $7 to $12.
- Silicone spray (optional). Use for the weatherstrip at the bottom of the door and the jamb seals on the sides. Keeps rubber pliable. Do not use on metal moving parts.
- Paper towels and cardboard. You’ll need them to catch overspray. Garage door lubricant on a concrete floor is a slip hazard.
Do not buy WD-40 for anything on a garage door. It’s a water displacer and degreaser. On springs, it strips protective coating and encourages rust. On rollers, it washes away existing grease and leaves metal-on-metal contact. On hinges, it works for a week and then makes things worse. The only acceptable use of WD-40 on a garage door is cleaning old grease off a track before re-lubricating, and even then, wipe it completely dry before applying lithium.
The Lubrication Sequence
- Disconnect the opener. Pull the red emergency release cord so the door operates manually. You don’t want the opener fighting you, and you don’t want lubricant drifting onto the rail where the trolley carriage rides.
- Rollers: one short spray each. Aim lithium grease at the roller stem where it enters the hinge, and at the bearing area if the roller is sealed-bearing type. Do not lubricate the wheel surface that contacts the track. That surface should be dry so the wheel rolls, not slides. Overspray here creates a dust-magnet track that grinds the wheel down. In Weatherford, with red clay dust in the air during dry months, a greased track becomes a lapping compound.
- Hinges: one spray at each pivot point. There are typically 10 to 12 hinges. Spray where the hinge leaf pivots, not the whole face. One half-second spray is enough. More is not better.
- Torsion spring: a light coat along the full length. This is the one component where lubrication matters most, and the one most people overdo. Use white lithium grease. Run a thin bead along the top of the spring coils while the door is closed. The spring should look damp with grease, not dripping. Do not touch the spring with your hands. Do not put anything inside the coils. A torsion spring under load stores enough energy to break bone.
- Extension springs (if your door has them): same light coat, full length. If you have an older door with exposed extension springs, lubrication is important, but honestly, this is a system we recommend replacing with torsion springs when budget allows. Extension springs fail more violently and have no containment cable on older Weatherford homes.
- Opener rail: check, don’t lubricate. Most modern openers with a belt drive need nothing. Chain drive openers sometimes benefit from a light grease on the chain itself, but check your opener manual. Over-lubricating the rail attracts dust and creates a paste that increases motor load. If the rail is caked with old grease, wipe it clean with a rag and start fresh.
Frequency in Weatherford
Quarterly is the baseline: March, June, September, December. If you notice squeaking between intervals, lubricate early. A squeak is metal-on-metal contact, and every cycle without lubrication is accelerated wear. Doors that see heavy use (more than four cycles daily) benefit from lubrication every six to eight weeks.
The Three Tests That Require Only Eyes and a Quarter
These tests are the diagnostic backbone of garage door maintenance. They require no tools except a quarter for the reversal test. Each takes under a minute. Each catches a specific failure mode. Together they verify the two safety systems mandated on all doors installed after 1993 (photo-eye sensors and auto-reverse) and the one mechanical condition that predicts spring failure.
Test 1: The Balance Test
How to do it: Disconnect the opener by pulling the red release cord. Lift the door manually to about waist height (three feet off the ground). Let go. The door should hold position without drifting up or down more than one inch.
What it means: A balanced door means the spring tension is correctly matched to the door weight. If the door drifts up, the springs are overwound (uncommon but possible after a tune-up). If the door drops, the springs are tired or the wrong size for the door. A door that drops from waist height has a spring losing tension. You’re weeks or months from a full spring failure, depending on cycle count.
What to do: A door that drifts down more than one inch is not a DIY repair. Spring adjustment means adding or removing tension from a component that can kill you if it releases. Call a professional. In our experience across Weatherford, a spring that fails the balance test typically has 500 to 2,000 cycles left. That sounds like a lot until you realize a two-car household with kids cycles the door 1,500 times a year.
Test 2: The Reversal Test
How to do it: Reconnect the opener (run it until it engages). Place a quarter flat on the floor in the center of the door opening, just inside the threshold. Close the door. The door must reverse and return to open within two seconds of contacting the quarter.
What it means: This tests the opener’s force settings and auto-reverse mechanism. Modern openers (LiftMaster, Chamberlain, Genie, Craftsman) have electronic force sensing. Over time, as the door wears and the opener works harder, the force threshold can drift. A door that doesn’t reverse on a quarter has a failing safety system. This is a $30 adjustment today or a preventable injury later.
What to do: If the door doesn’t reverse, check the photo-eye sensors first (small units mounted 6 inches above the floor on both sides of the opening). Clean the lenses with a dry cloth. Make sure they’re aligned: the indicator light should be solid, not blinking. If the eyes are clean and aligned and the reversal still fails, the force limit on the opener needs adjustment. That’s a 20-minute job for a technician with the right testing equipment, and part of a standard garage door opener repair in Weatherford call.
Test 3: The Manual Disconnect Test
How to do it: With the door fully closed, pull the red emergency release cord. You should be able to lift the door by hand smoothly, without binding, grinding, or excessive resistance. Lift it all the way open, then close it all the way. It should move uniformly the entire time.
What it means: This test isolates the door from the opener. If the door is hard to move manually, the problem is in the door hardware (springs, rollers, tracks), not the opener. A door that binds halfway up has a track issue. A door that’s very heavy to lift has a spring issue. A door that’s hard to move in both directions has a lubrication problem or a damaged roller.
What to do: Bind or grind means a roller has failed or a track is out of alignment. Heavy door means the springs are near end of life. Both are professional calls. A door that moves smoothly but makes noise needs lubrication. A door that moves smoothly and quietly passes. That’s the baseline condition.
Run these three tests monthly. Log the results in your maintenance log (section below). A door that passes all three today and fails the reversal test in October gives you a precise indicator that something changed and what it might be. That’s the power of documentation: you’re not guessing, you’re measuring.
Weatherford-Specific Seasonal Checks
Weatherford sits at the edge of the Cross Timbers region. The climate is hot-humid in summer, mild and windy in spring, with periodic dust storms that scour everything horizontal. Your garage door lives in that environment 24 hours a day. Here’s what to check seasonally that generic checklists miss.
After a Dust Storm: Re-inspect the Bottom Seal
Weatherford gets 10 to 15 significant dust events a year, most between February and May. After each one, run your hand along the bottom seal and the side weatherstripping. What you’re feeling for is grit embedded in the rubber. Fine dust grains work into the seal’s surface and act as sandpaper against the concrete threshold every time the door closes. Over one season, this micro-abrasion opens hairline cracks in the seal. Over two seasons, those cracks become gaps. A gapped seal costs you cooled or heated air every day and invites pests.
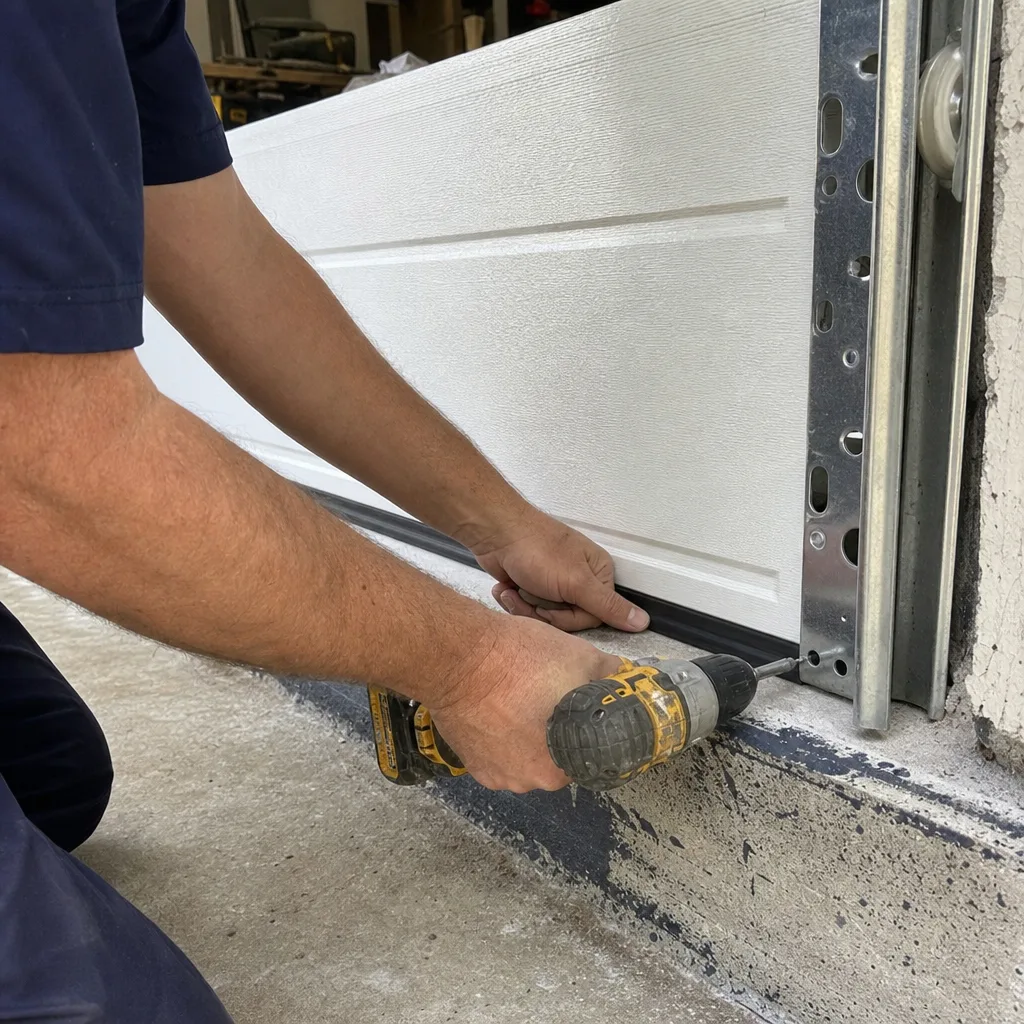
What to do: After a dust storm, wipe the bottom seal with a damp cloth. If the rubber feels stiff or shows cracks, treat it with silicone spray. If the door contacts the floor unevenly (check by looking for daylight under the closed door from inside), replace the seal. Complete bottom seal replacement for a standard 16-foot door runs $65 to $110 in parts and takes most owners 45 minutes. If you’d rather not, any garage door installation company in Weatherford handles seal replacement as a standalone service call.
July Heat: Cable Tension Measurement
Steel cables expand in heat. In Weatherford’s July temperatures, a garage door cable that was properly tensioned at 70 degrees in March will be measurably longer at 105 degrees in July. This thermal expansion usually falls within the normal operating tolerance of the cable drum, but on doors with minimal drum wrap, heat expansion can allow the cable to go slack on the drum, especially when the door is in the up position. A slack cable is a cable that can jump the drum groove, which is one of the most common causes of cable failure we see in summer.
What to do: On a hot day (above 95 degrees), with the door closed, inspect both cables where they wrap onto the drum. The cable should sit tight in the drum groove with no visible gap between wraps. If you see a gap or the cable looks loose, note it in your log. If it recurs on consecutive hot days, call for an inspection. This is not a homeowner adjustment. Cable tension on a torsion system interacts directly with spring tension, and both are lethal if mishandled.
March and September: Track Alignment Check
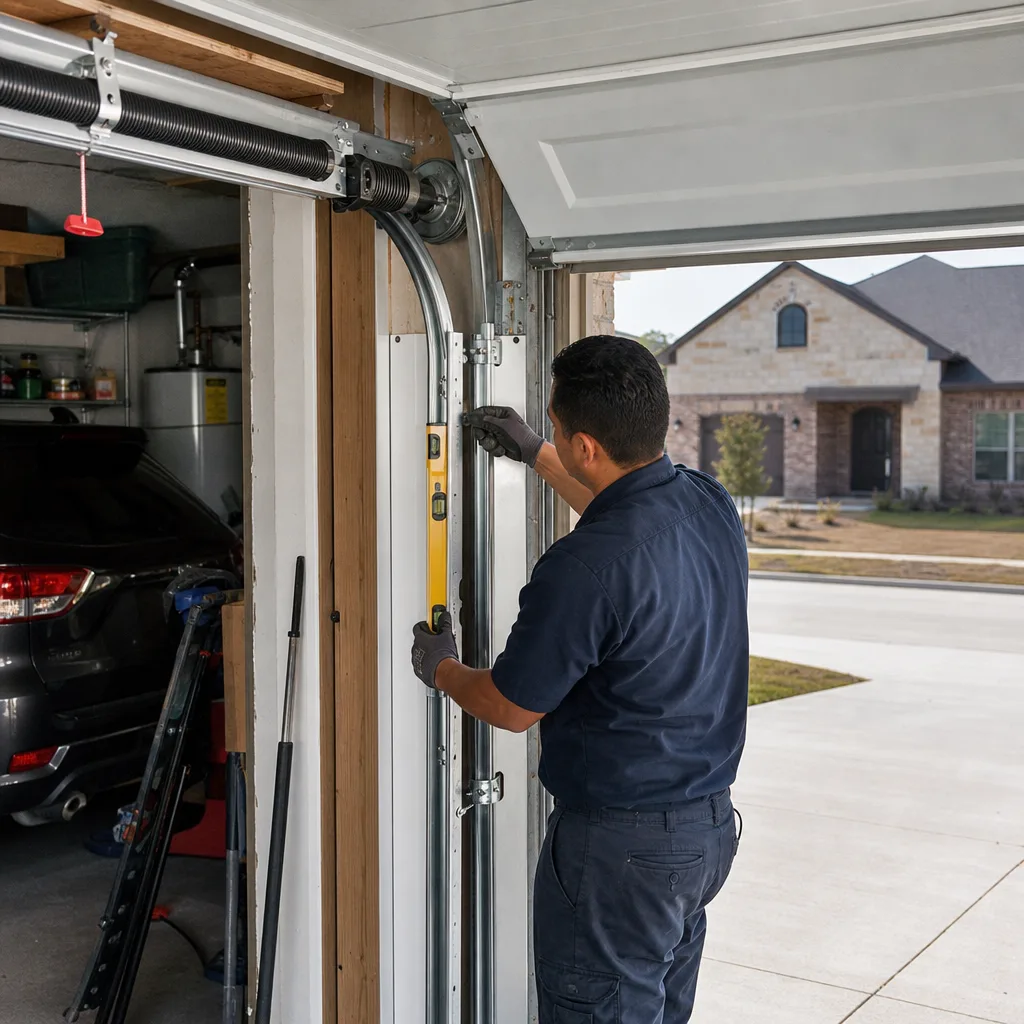
The clay soil under Weatherford expands and contracts with seasonal moisture. Foundations move a millimeter here and there, and over years, those millimeters add up across the 16-foot span of a garage wall. March (after winter rains) and September (after summer drought) are the two times to check track alignment with a level. Place a 4-foot level against each vertical track. It should read plumb. Then check the horizontal track for any visible bend or bow. A track that’s out of level by more than a quarter inch over 4 feet will cause roller wear and door binding.
If your home is older and the garage slab has known movement, this check matters more. Some Weatherford homes built in the 1970s and 1980s have slabs that have shifted enough to pull tracks out of alignment permanently. In those cases, track shimming or realignment is an annual maintenance item, not a one-time fix. A good technician can shim a track and buy the door a decade of smooth operation.
Warranty Protection: What to Do Yourself, What to Document, What to Leave Alone
Garage door manufacturers write warranties that assume professional installation and professional service. But Texas law doesn’t void a warranty simply because an owner performed maintenance. What voids warranties is improper work that causes the failure. Here’s what that means in practice.
Task Map: Owner-Permitted vs. Professional-Required
| Task | Owner-Permitted? | Warranty Risk |
|---|---|---|
| Visual inspection | Yes, always | None |
| Lubrication of rollers, hinges, springs (using correct product) | Yes | None |
| Bottom seal replacement | Yes | None if correct part and method |
| Tightening hinge bolts | Yes | None |
| Photo-eye sensor cleaning and alignment | Yes | None |
| Opener force limit adjustment | Borderline | Moderate; incorrect adjustment voids opener warranty |
| Track realignment or shimming | No | High; improper track work can damage door and void door warranty |
| Torsion spring adjustment or replacement | No | High; springs under lethal tension; incorrect sizing voids door warranty |
| Cable replacement or drum work | No | High; cable failure under load causes door damage |
The line is simple: if the task involves a component under tension (torsion spring, cable, drum) or affects the door’s geometry (track alignment), it’s professional work. Doing it yourself and getting it wrong is how a manufacturer denies a claim for a bent panel or a broken opener, because the root cause traces back to the amateur repair.
Documenting Owner-Performed Maintenance
If you replace a bottom seal yourself, keep the receipt. Write the date of installation on the packaging or snap a photo of the installed seal with a timestamp. If you lubricate quarterly, note it in your log (section below). If you tighten a hinge, note the date and the fasteners you touched. This documentation matters when a claim is contested. A manufacturer’s warranty department is far more likely to honor a claim from an owner who can produce a maintenance log showing quarterly lubrication with the correct product than from an owner who says “I took care of it” without evidence.
This is the same principle that drives how we work. Clause 4 of The Haven Standard is why our technician photographs the failed component before quoting a replacement. You see what we saw. The paper trail makes everything else unnecessary.
The Maintenance Log: Your Paper Trail Against Inflated Quotes
Here’s the maintenance log template we recommend to every Weatherford homeowner. It lives on a single sheet of paper taped inside the garage cabinet or in a notes app on your phone. It takes 90 seconds to update after each maintenance session. Over years, it becomes the single most useful document you own for garage door decisions.
The Template
| Date | Task | Product Used | Result / Observation | Next Step |
|---|---|---|---|---|
| 3/15/2026 | Lubrication | White lithium grease | All moving parts; no squeak | Repeat June |
| 3/15/2026 | Balance test | N/A | Held at waist height, no drift | Repeat monthly |
| 3/15/2026 | Reversal test | Quarter | Reversed within 2 seconds | Repeat monthly |
| 3/15/2026 | Cable visual | N/A | No fraying, tight on drum | Repeat monthly |
| 4/2/2026 | Post-dust-storm seal check | Damp cloth | Grit removed; seal pliable | Repeat after next dust event |
Why this matters for future repairs: when a spring finally breaks and you call a company, the technician asks “How old is the spring?” Most people guess. You’ll know. When a cable frays, the question is “When did you last lubricate?” Most people can’t answer. You’ll have the date, the product, and the result. This information lets a technician diagnose faster and quote more accurately. It also signals to any service provider that you’re paying attention, which changes the tenor of the quote you receive.
We built Servo Garage Doors Weatherford on the premise that documentation replaces trust. Your maintenance log is the owner-side version of the same idea. It’s your evidence.
Common Mistakes to Avoid
- Using WD-40 on torsion springs. This is the mistake we document most often, and it directly causes premature spring failure. WD-40’s solvent action strips the factory coating and leaves the steel wire exposed to Weatherford’s humidity swings. Use white lithium grease or nothing.
- Greasing the track. The track should be clean and dry. Grease on a track attracts dust and creates a grinding paste. If a technician ever greases your track, find another technician. The wheel rolls on the track; it doesn’t slide on it.
- Ignoring a squeak. Squeaks are not normal. They are metal-on-metal friction, and friction is wear. A door that squeaks today has a component that will fail measurably sooner than a door that runs quiet. Lubricate at first squeak, not at the next quarterly interval.
- Adjusting the spring tension yourself. Torsion springs are the only component on a garage door that can kill you during routine maintenance. The tools required (winding bars) and the technique are not something to learn from a YouTube video. This is the line you don’t cross.
- Skipping the reversal test because the door “seems fine.” The reversal test is a safety system check, and safety systems fail silently. A door that closes on a quarter today would close on a dog or a child tomorrow. Run it monthly. It takes 60 seconds.
- Replacing only one spring when one breaks. Springs are matched pairs that wear together. When one fails, the other is at the same cycle count and will fail soon. Replacing one spring means paying for another service call in a few months, plus the risk of a door falling in between. Replace both.
- Ignoring Weatherford’s dust cycle in your maintenance schedule. A generic quarterly schedule from a national website doesn’t account for our dust storms. After any significant wind event with visible dust, check the bottom seal. It’s the cheapest insurance against seal failure and the critters that follow.
When to Call a Professional
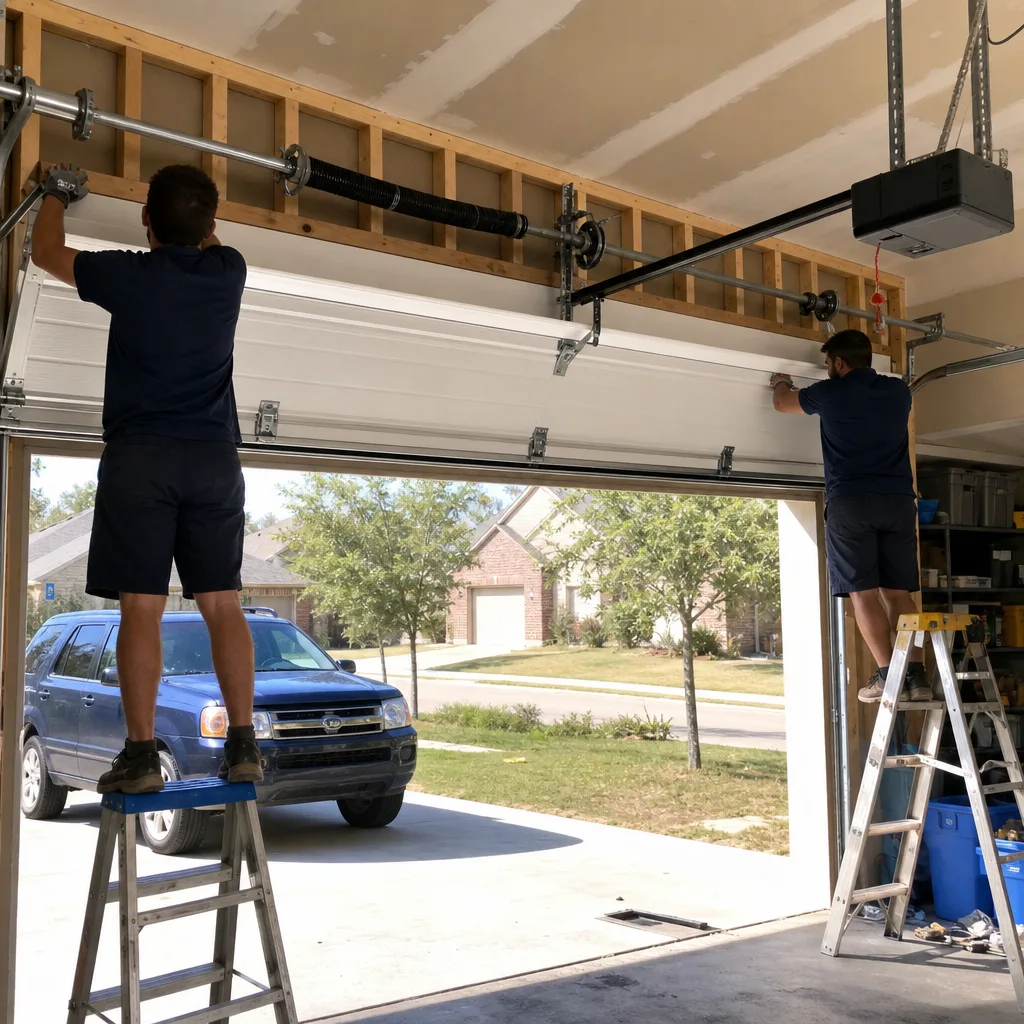
Call a professional when the problem involves a component under tension (torsion spring, cable, drum), when the door fails the balance test, when a track is visibly out of alignment, or when the reversal test fails after sensor cleaning. These are not DIY repairs. They are jobs where a mistake costs more than the service call, and where the failure mode includes “door falls suddenly.” We’ve been repairing garage doors in Weatherford since 2015 and we’ve seen what happens when a homeowner’s well-intentioned fix goes wrong. Servo Garage Doors Weatherford offers free estimates in Weatherford. Call (940) 353-1271. Every job gets a flat, written price before work starts, per Clause 1 of The Haven Standard, and a documented photo record when we leave, per Clause 4. No surprises, no pressure.
Frequently Asked Questions
A professional garage door tune-up in Weatherford typically runs $95 to $150 for inspection, lubrication, and minor adjustments. If the tune-up includes replacing worn rollers or a bottom seal, expect $165 to $260 total. DIY maintenance costs about $15 to $30 in supplies (white lithium grease, a level, a quarter) and 45 minutes of your time per session. Call (940) 353-1271 for a flat, written quote before any work begins.
Lubricate every three months: March, June, September, December. Weatherford’s dust and heat both work against lubrication. Dust bonds with grease to form a paste, and summer heat thins lubricants faster. If your door squeaks between intervals, lubricate when you hear it. A squeak is friction, and every cycle with friction is wear.
You can and should do the inspection, lubrication, and safety tests described in this guide. You should not attempt spring adjustment, cable replacement, drum work, or track realignment. Those tasks involve components under tension that can cause serious injury or death if mishandled. The line is clear: anything involving a torsion spring’s tension is professional work.
WD-40 strips the protective coating from spring steel and leaves the wire exposed to corrosion. In Weatherford’s humidity swings, this accelerates rust and metal fatigue. A spring treated with WD-40 regularly can fail at half its rated cycle life. If you’ve done this, stop. Clean the spring gently with a dry cloth (do not touch it with bare hands) and apply a light coat of white lithium grease.
Heat expansion in the door panels or the track can cause the door to bind slightly, which increases opener force and can trigger the auto-reverse as a false positive. Check the track alignment on a hot day. If the track is clean and aligned and the problem persists, the opener’s force settings may need adjustment. This is a 20-minute fix for a technician. Call (940) 353-1271 for a free estimate.
Yes, provided you use the correct products and methods and document your work. Garage door warranties are voided by improper work that causes a failure, not by owner-performed maintenance itself. Keep a log with dates, products, and observations. If a claim is contested, your log is your evidence. We do the same thing on every job we perform: the photo record proves what was found and what was done.
The Bottom Line
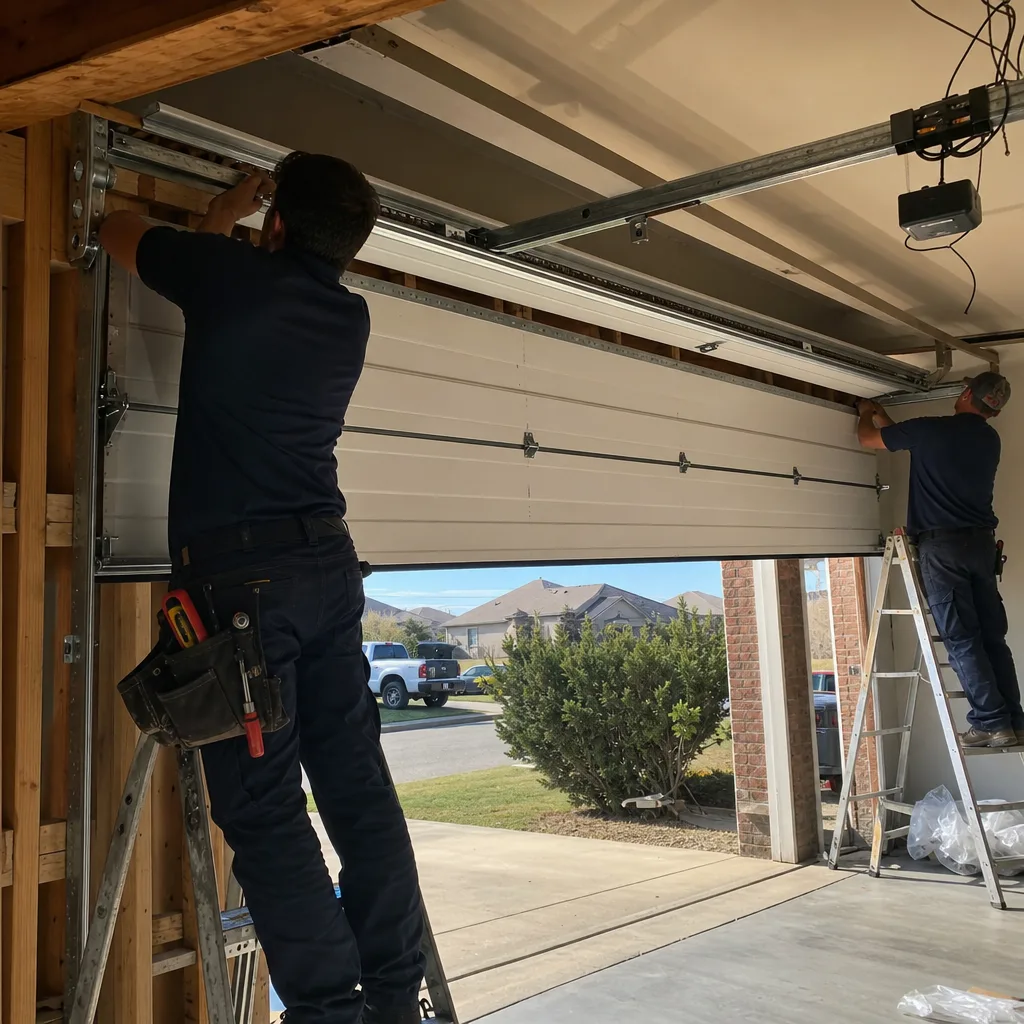
Garage door maintenance in Weatherford comes down to four commitments: inspect monthly, lubricate quarterly with the correct product, run the three safety tests every month, and document everything. Most repairs are cheaper when caught early. A failed bottom seal is a $65 fix if caught this week and a $300-plus problem if ignored for a season. A tired spring that fails the balance test is a controlled replacement if caught early and an emergency call when it snaps at the worst possible moment. None of this requires mechanical skill. It requires attention and a calendar. If you find something outside your ability, call a professional before it becomes an emergency. The free estimate costs nothing. The photo record you receive means you’ll never be quoted for a repair you didn’t need.
Written by Marcus Deller, Owner at Servo Garage Doors Weatherford, serving Weatherford since 2015.